Appearance
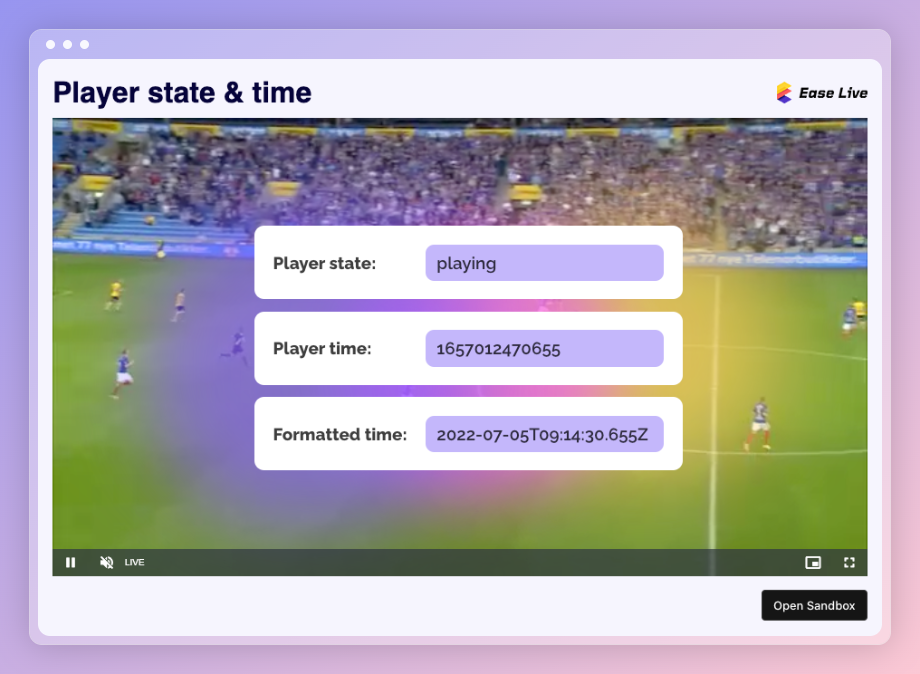
Example: Player state & time
In this example we'll implement the Ease Live Bridge for Web and hook up the three most important events needed for Ease Live overlays to be in perfect sync with the video.
For Ease Live to be able to synchronize the interactive broadcast graphics with the video, we need to have a sense of shared time between the two. This can be done by transporting the timecode from the production facility all the way out to the end-users.
The most used transportations are HLS ID3 tags or EXT-X-PROGRAM-DATE-TIME in the manifest. Read more about timecodes here.
Every player has a different way of parsing and reading time. Since Ease Live doesn't require you to swap out your own player with a player supplied by us, you'll need to pick up on the metadata in your existing player. In this code sample we're using Video.js as an example.
Feel free to fork it and play around with the example.
Events to implement
player.ready- notify Ease Live that your player has started playing the videoplayer.time- the absolute time of each video chunk or video frameplayer.state- the state your video player is in. Is the video playing or buffering?
Events are messages passed back and forth from the browser/native app to the Ease Live overlay. You can pass them like this:
js
bridge.emit('any.message', {
  some: 'value'
});
player.ready
Notify Ease Live that your player has started playing the video.
Every player has an event or callback that lets you know that it has finished loading and is now playing the video or ready to play it (if autoplay is turned off). This is Ease Live's cue. It's important that the video player is able to work well with and without Ease Live, so we won't mess with the existing lifecycle with a player.
Video.js example:
js
// 1. when the video.js player is ready
player.ready(() => {
  // 2. notify the overlay via the bridge so it can start loading the UI
  bridge.emit('player.ready');
});
player.time
In this example, Video.js has a plugin called @videojs/http-streaming that automatically translates timed ID3 metadata into HTML5 metedata text tracks. The Codesandbox example reads the metadata and parses the timecodes and sends it into Ease Live whenever it receives a new time.
js
// 2. Read the timecode from segment metadata in video.js
player.textTracks().addEventListener('addtrack', (addTrackEvent) => {
  const timecode = ... // see Codesandbox for video.js timecode parsing
  bridge.emit('player.time', {
    timecode // timecode should be unix timestamp in milliseconds, example: 1657013304000
  })
});
player.state
Now that you have player.time sorted, the next and final step is to make sure that Ease Live knows about the playing state of the player. If the player is buffering or the user has paused the video, the overlay should know about it so that we can make sure that the overlay doesn't truck along like the video is still playing.
Video.js and all other players have events for all of these:
js
// 3. Read player state events from video.js's player instance
player.on(["pause", "waiting"], () => {
  bridge.emit("player.state", { state: "paused" });
});
player.on(["playing", "seeked"], () => {
  bridge.emit("player.state", { state: "playing" });
});
player.on("stalled", () => {
  bridge.emit("player.state", { state: "buffering" });
});
player.on("seeking", () => {
  bridge.emit("player.state", { state: "seeking" });
});Test in your own app
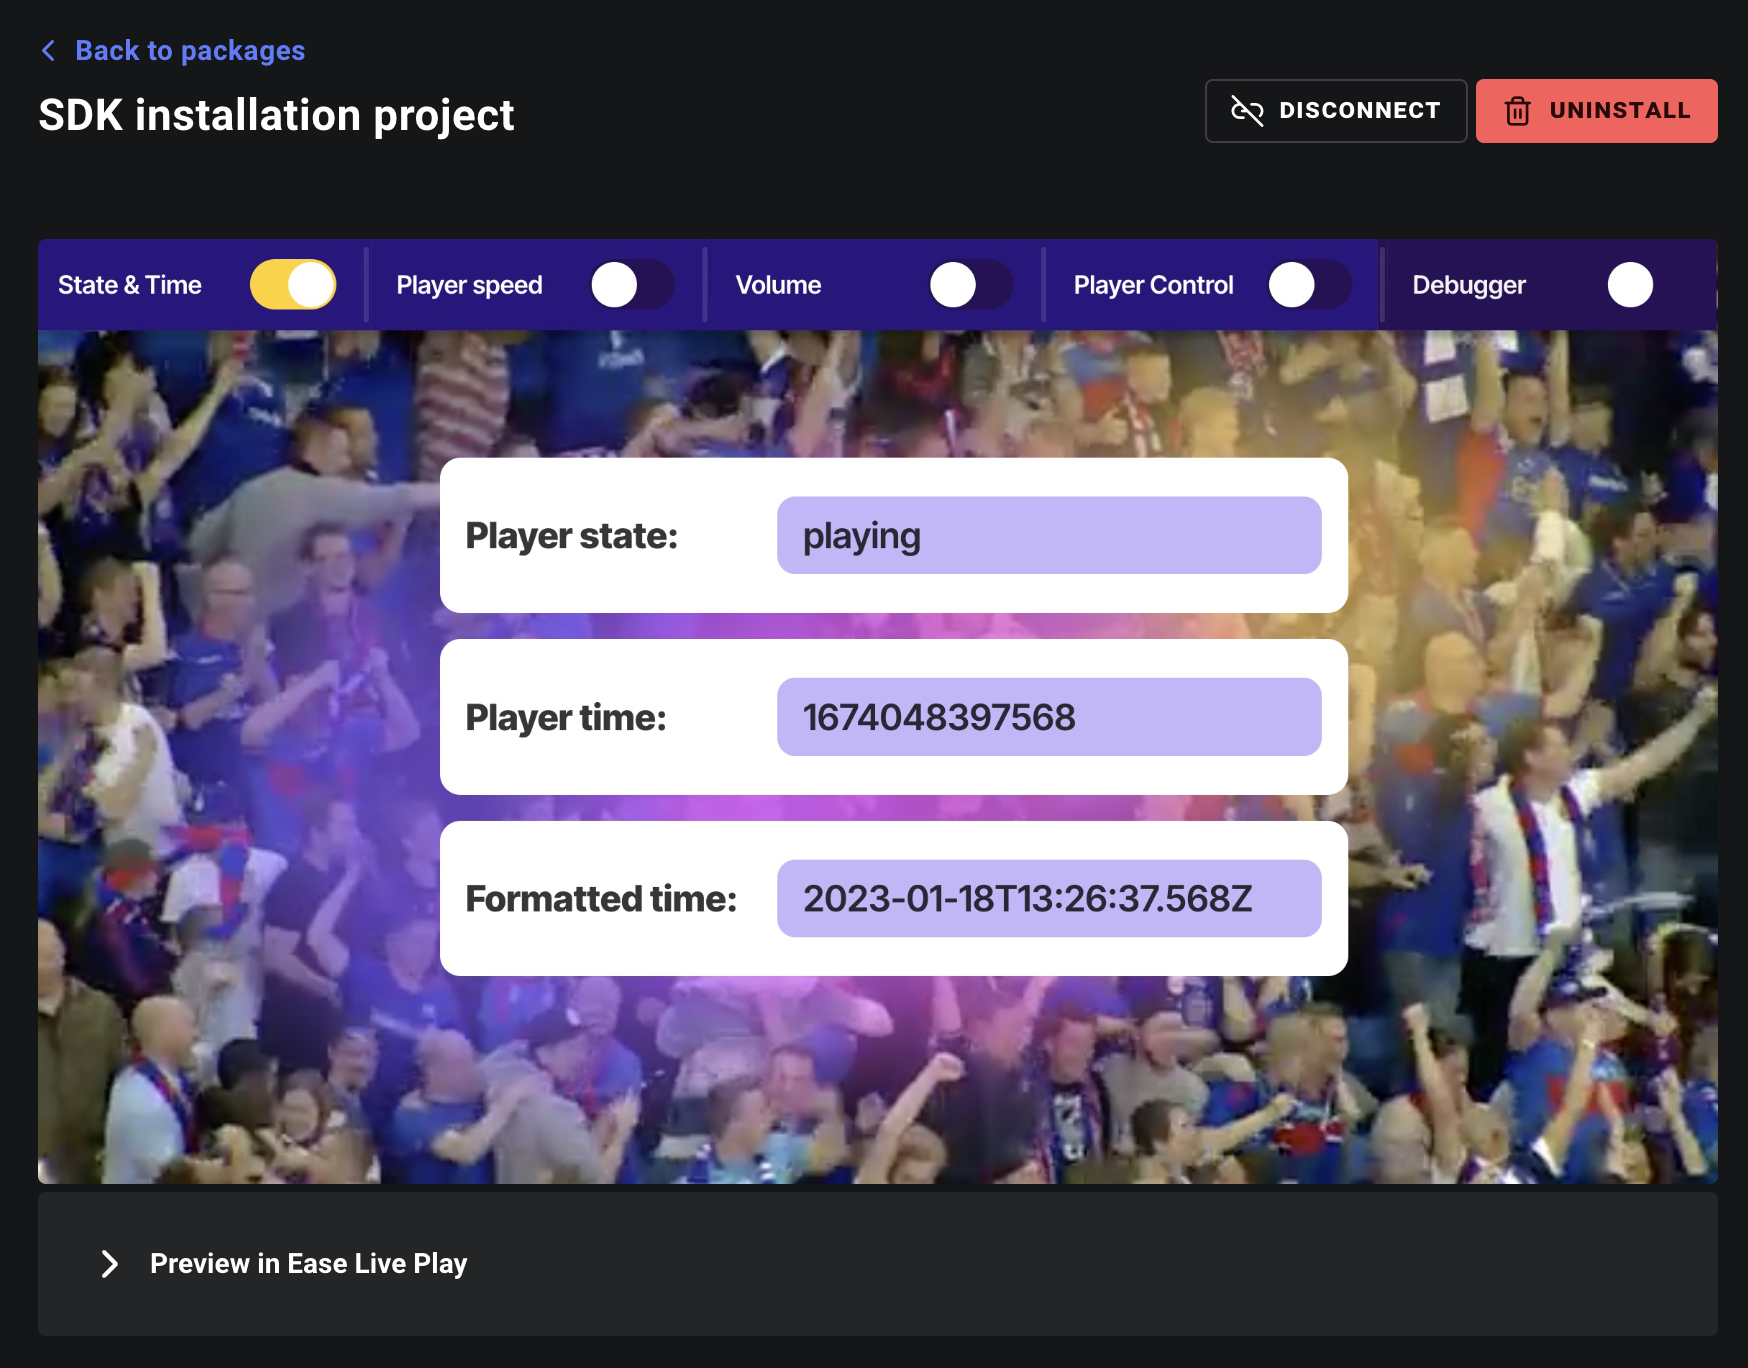
If you want to test it in your own app, we've gathered the main Bridge examples into a single package for you to load into the Bridge SDK.
Install the package in your existing project
The recommended way is to install the "SDK installation project" package directly into your Studio project that you're already working on. You can find it in the Package store in the editor.
Or use the project directly in your app
If you prefer to load in the SDK installation project directly, you can do that as well by using the following parameters when loading in the Bridge SDK:
accountId→tutorialsprogramId→2d2711ff-6ff2-41c1-a141-060e9ffa2c38