Appearance
4. Managing multiple scenes
Now that we have a basic understanding of scenes, events and triggers, it's time to look at some more realistic use cases.
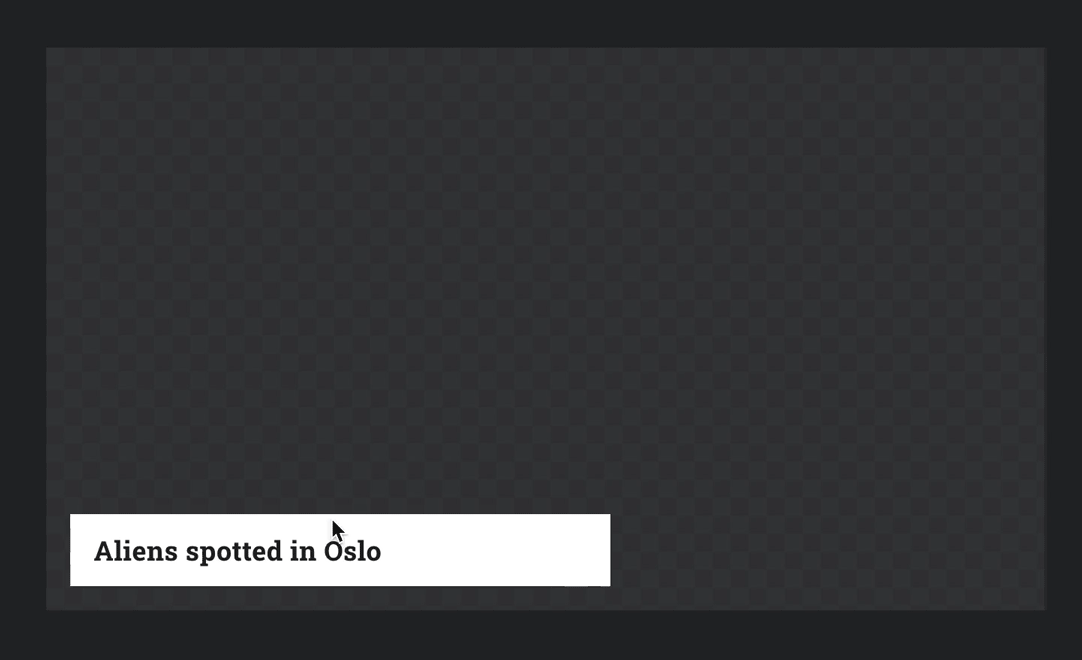
Say we want to be able to expand our lower third to show more information in context, rather than funnel them to our site. This is exactly what activating and deactivating scenes is useful for. As with showing/hiding, we can play animations when a scene is activated and deactivated – like sliding in a sidebar with more information for example.
Ease Live will always ensure that only one scene is active at a time. This way we don't have to worry about cluttering the user experience as the user activates different scenes. Simply activate scenes when the user taps them, and all other scenes will be deactivated automatically.
We will start by adding a simple sidebar that opens when our lower third is clicked:
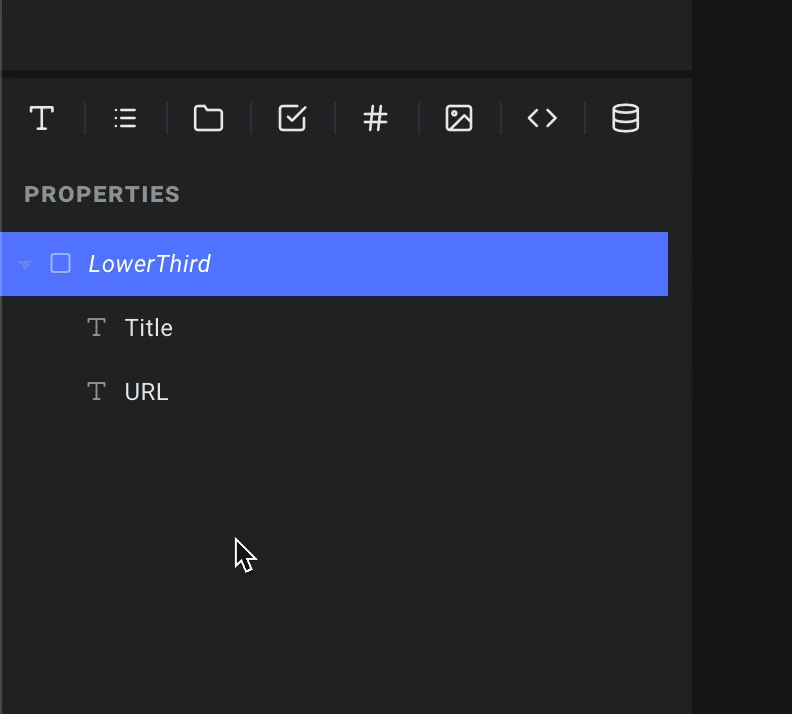
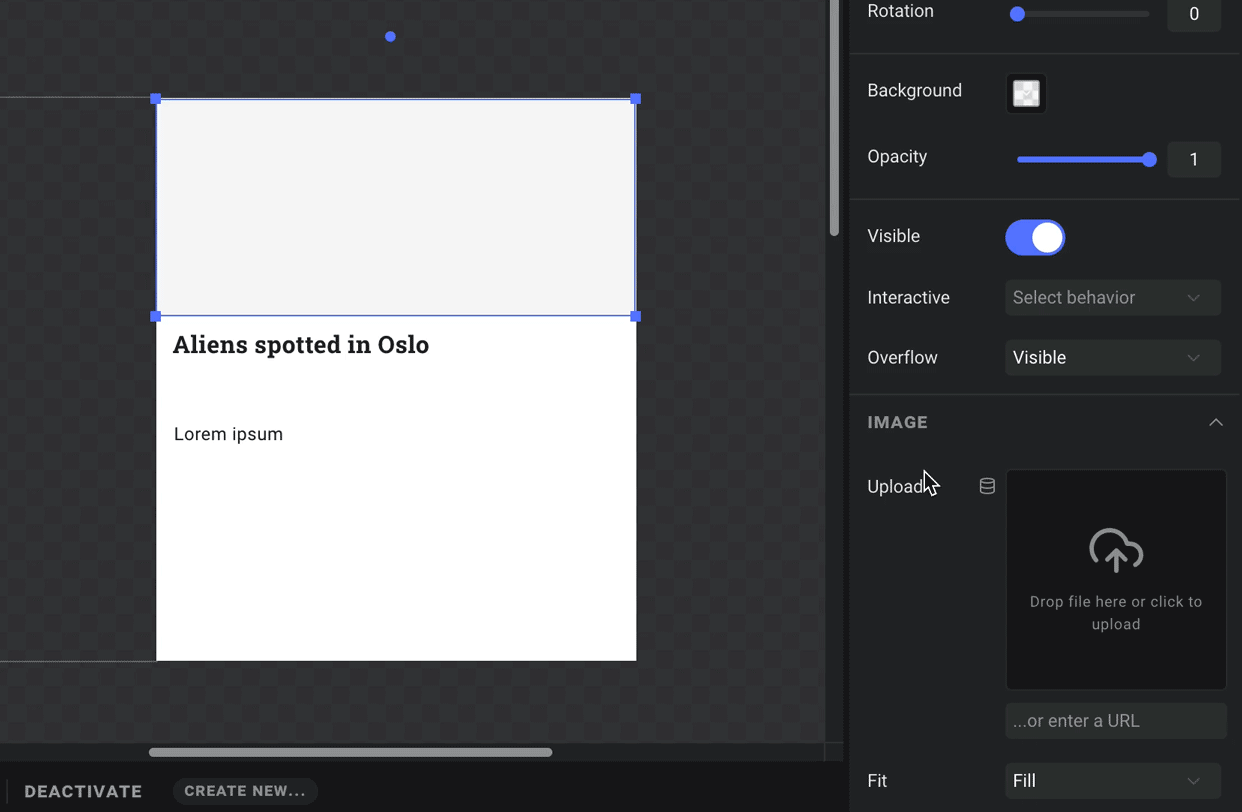
Step 1: Add an image and body text field to our event
We want our sidebar to contain an image and some text. Let's add an image field and another text field to our lower third event:
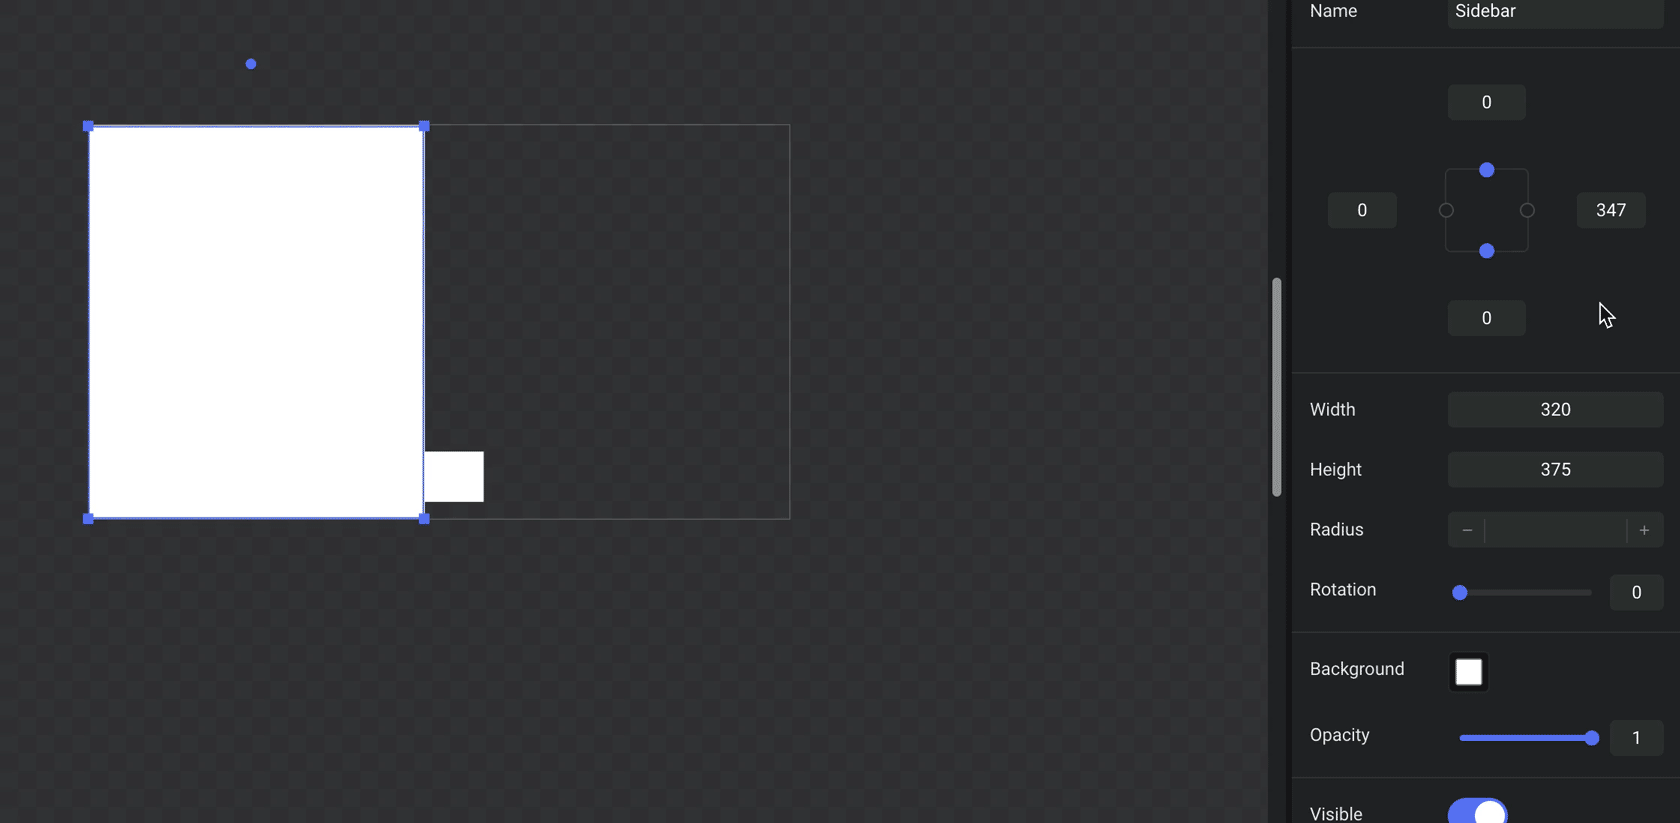
Step 2: Design our sidebar
We will add a new layer and call it "Sidebar". We will make it 320px wide, and pin it to the top, right and bottom edges of the screen. Since we want to be hidden out of view until activated, we will give the right pin a value of -320:
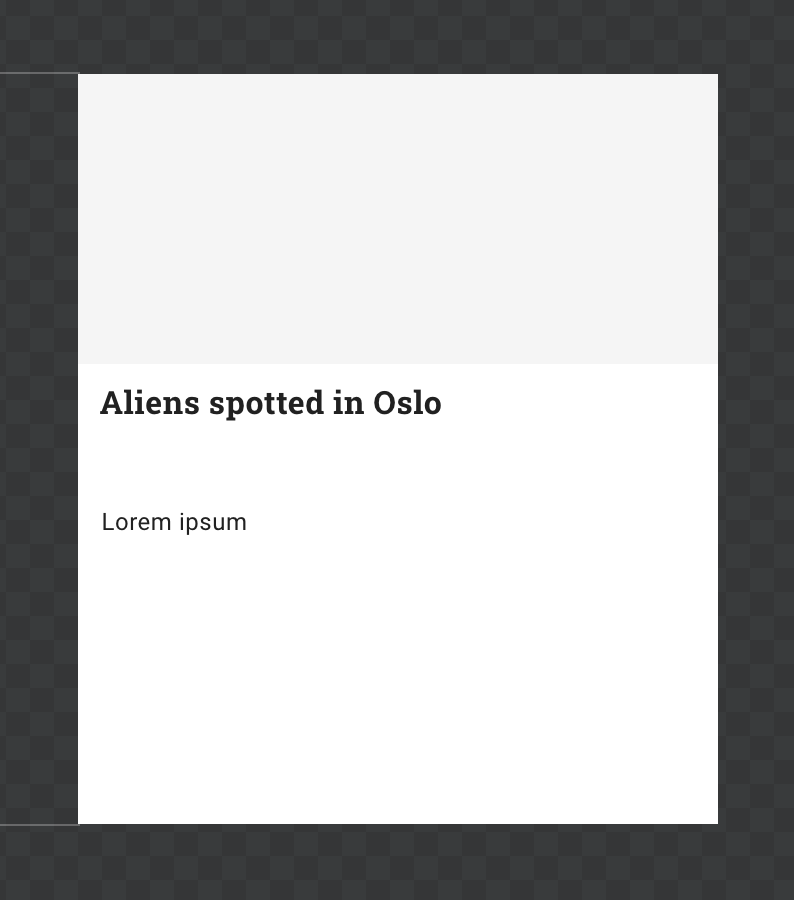
Now let's add another layer inside our Sidebar to contain our image, and two text layers: one for the title and one for the body text. You should end up with something like this:
Tip: To align the text to the top of the text layer rather than the middle, give it a line height
Now we simply hook up the image, title and text fields from our lower third event to our new layers:
Step 3: Add activate/deactivate animations
The slide-in-right preset won't work in this particular case, since it will only animate it to its designed position – which in this case is outside the screen. So instead, we simply animate the right position to 0 in our activate animation:
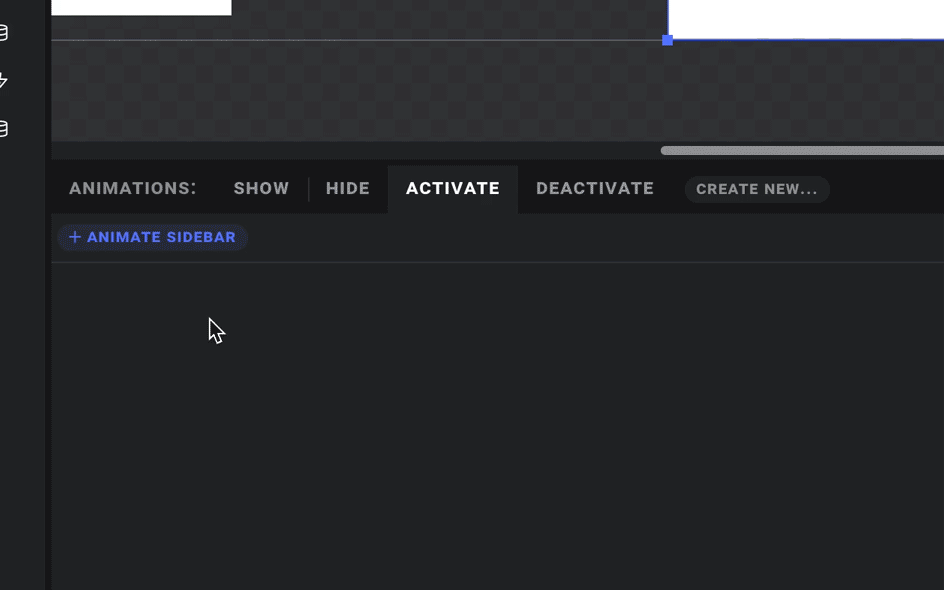
And in our deactivate animation, we do the same thing but animate the right value back to -320.
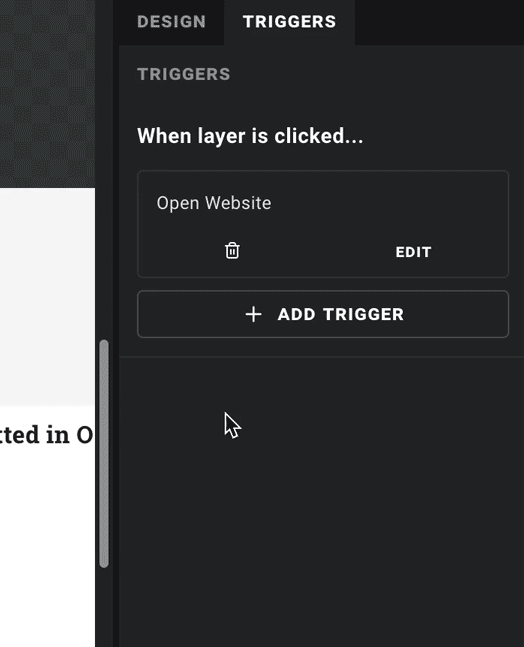
Step 4: Update our trigger
Almost there! Now we just have to select our lower third, remove our "open website" trigger, and instead add one that activates our current scene:
Good to go! Note that clicking the background behind our lower third or sidebar will automatically deactivate it, so we don't need to add a trigger for that manually:
Bonus: More scenes!
If you want to, you can now play around with making more scenes in the same vein, and notice how they all play nicely together by ensuring only one scene is active at at time.
Next up - working with data!