Appearance
Packages
Packages allow you to extend or kick-start your project with ready made building blocks. Some are simple components, while others include whole scenes and events, ready for production.
You can use packages to quickly add design elements to a project, or keep scenes, components or data sources synchronized between projects.

Installing
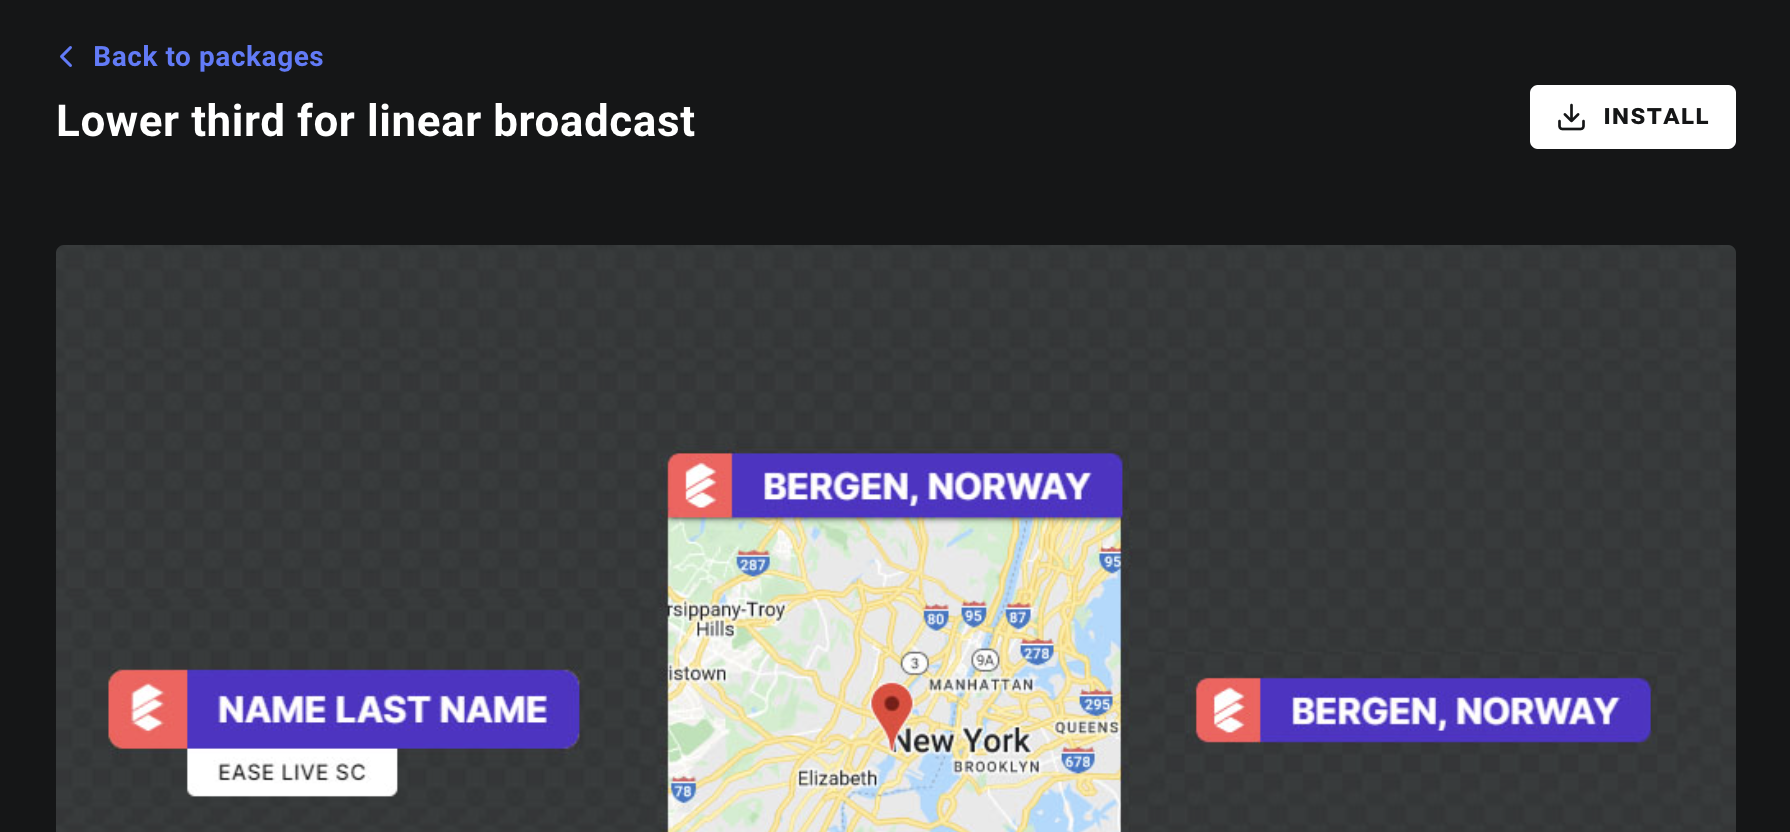
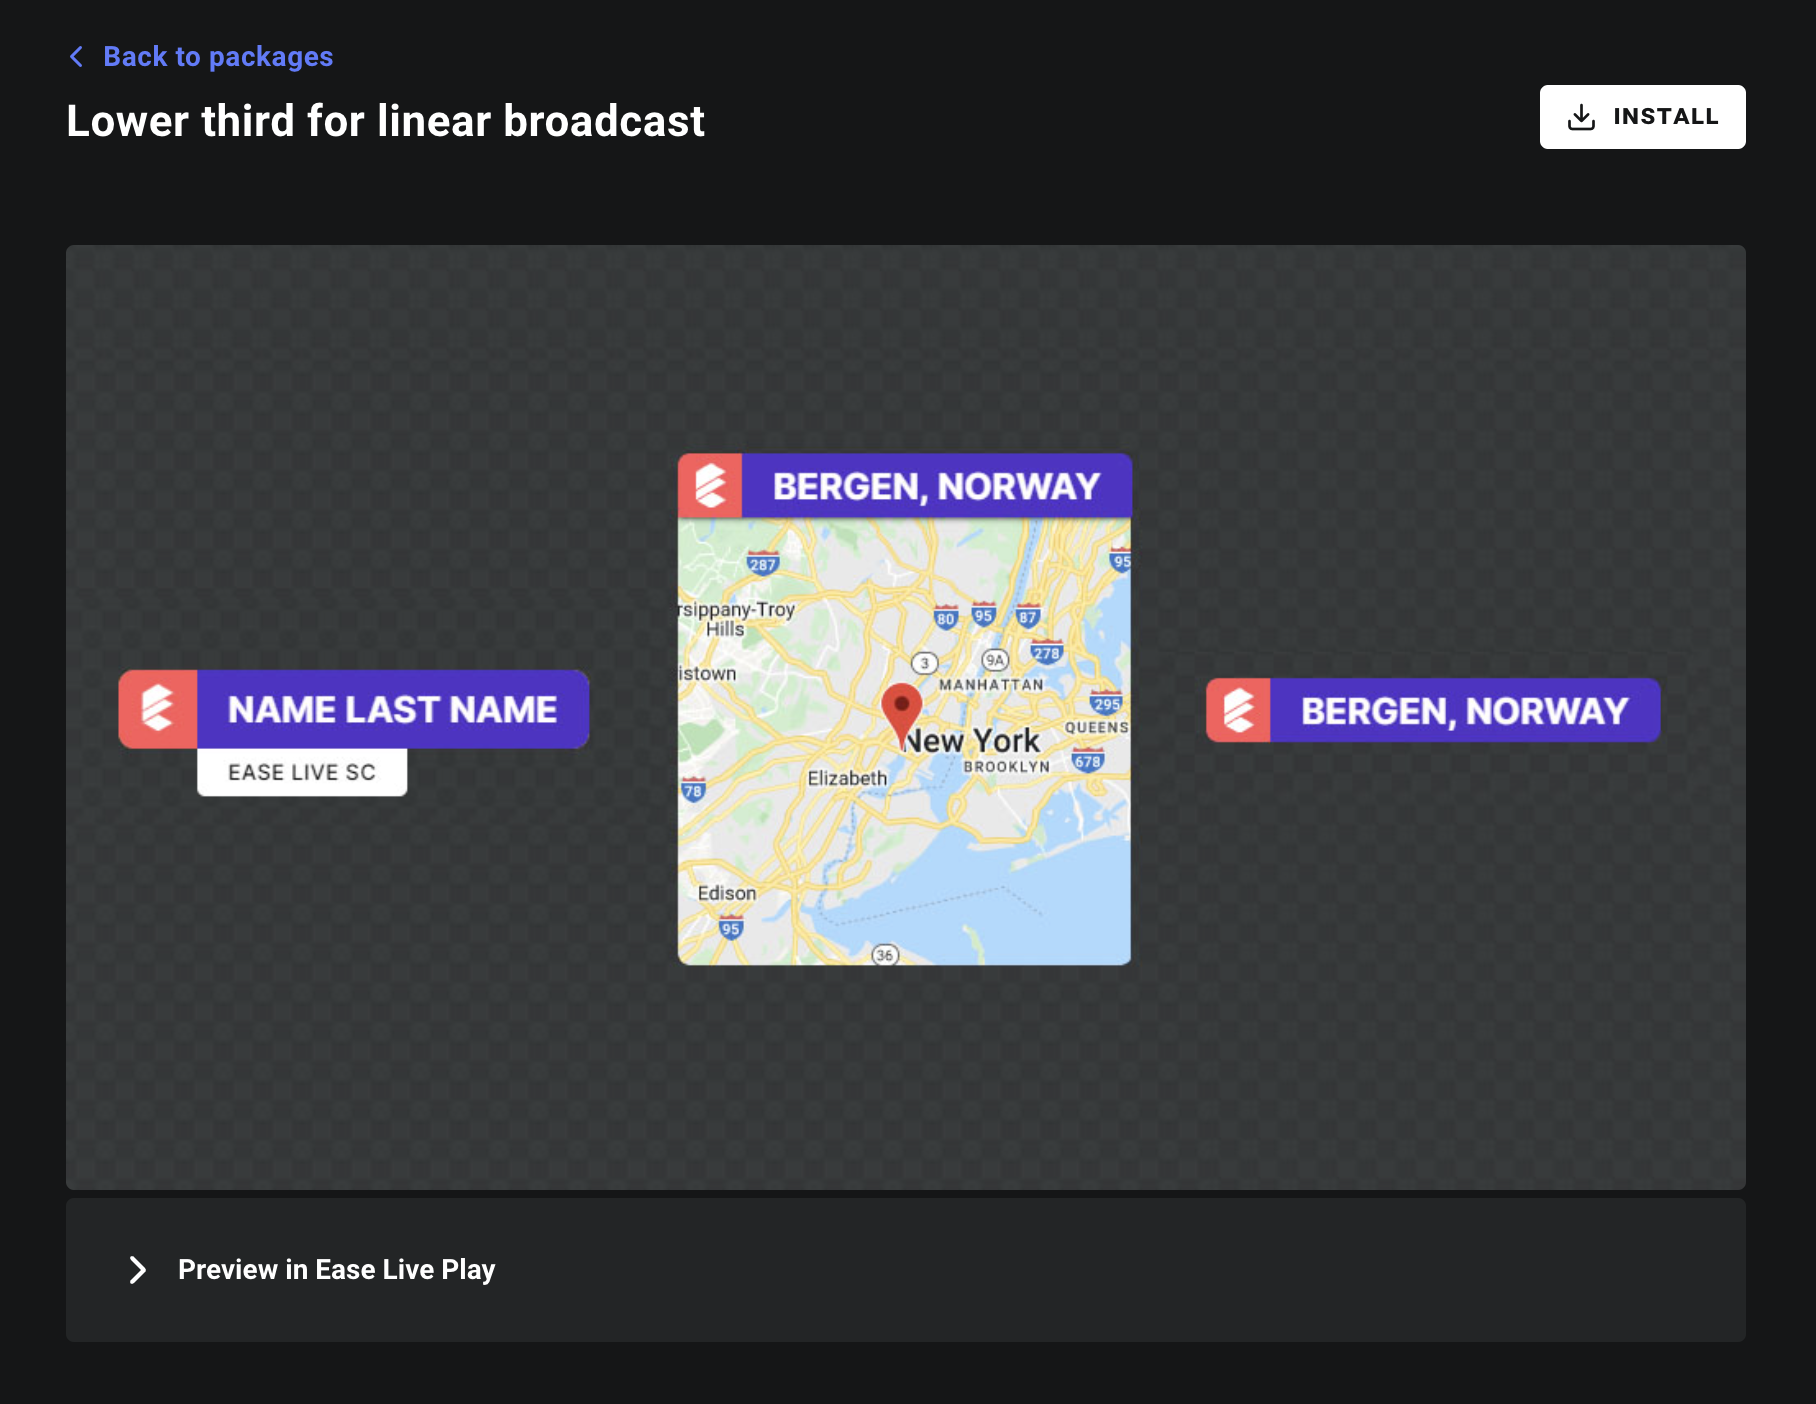
To browse and install packages, click on the Packages button in the Studio top menu bar to load the Package store. Find the package that you would like to install, click on its name, then click Install.
Then click Done in the top right corner to jump back to the editor.
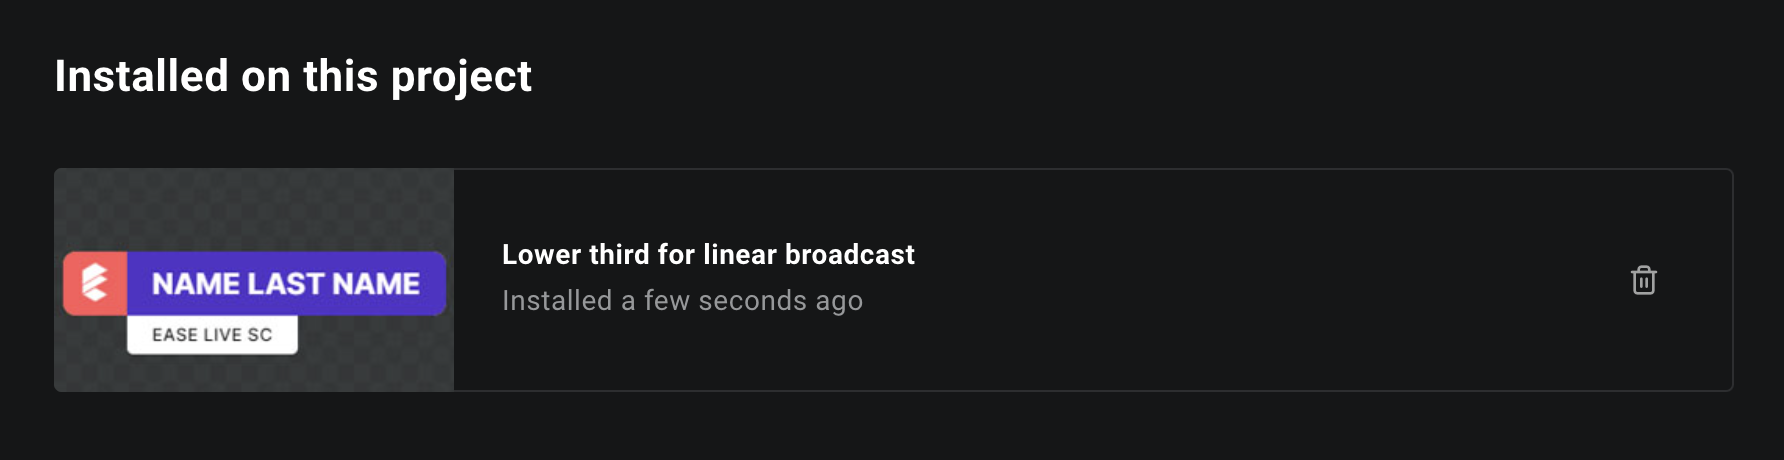
You can always find your project's installed packages by going to the front page of the package store.
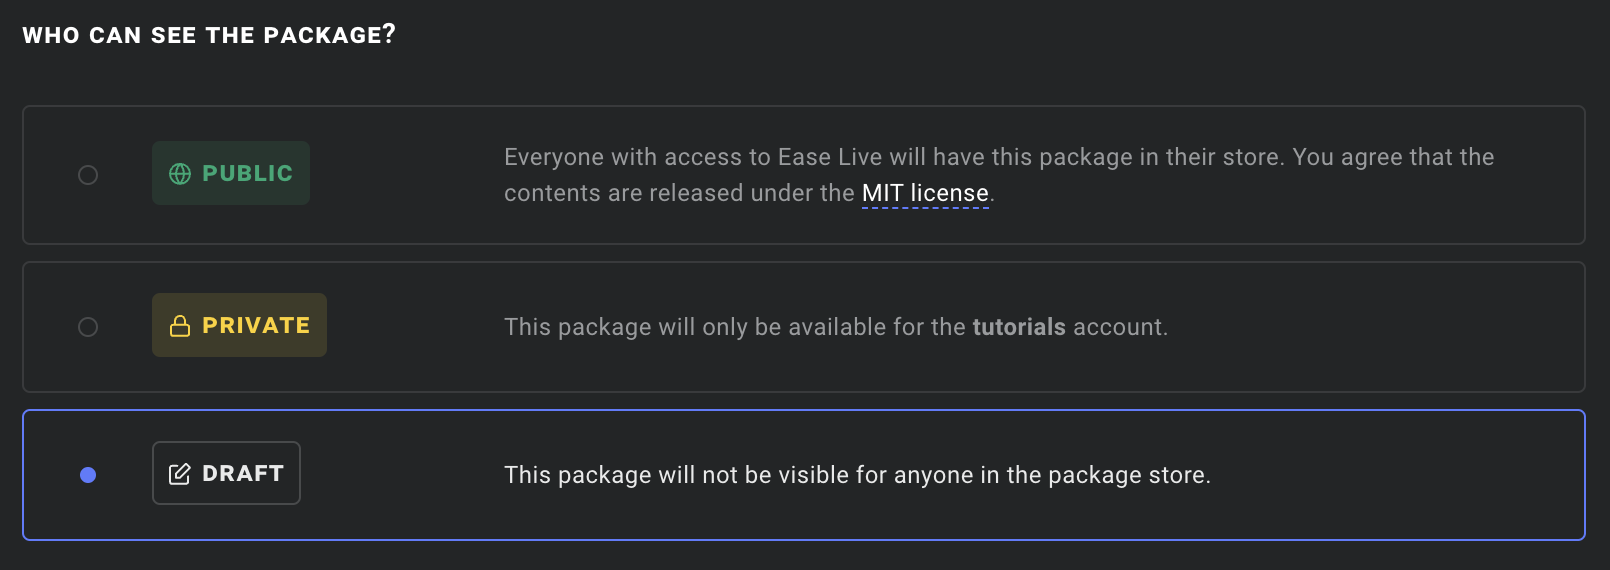
Package types
- Public packages may be installed by anyone that has access to Ease Live.
- Private packages are visible only within your team's Ease Live account. No one else can access them.
Using
A package is really just like a project. It can contain scenes, components, data sources, functions, you name it. When installing a package, you're basically just merging another project into your own.adding pre-made elements to your project. Once they're installed, the elements are a part of your project just like all other elements you've made yourself.
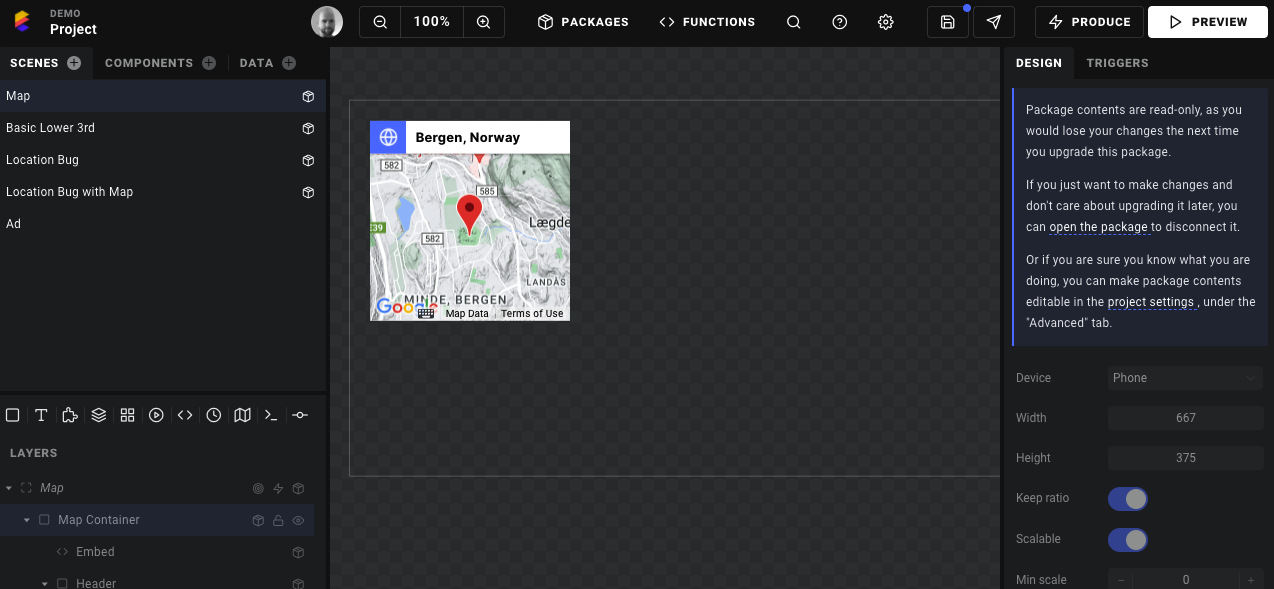
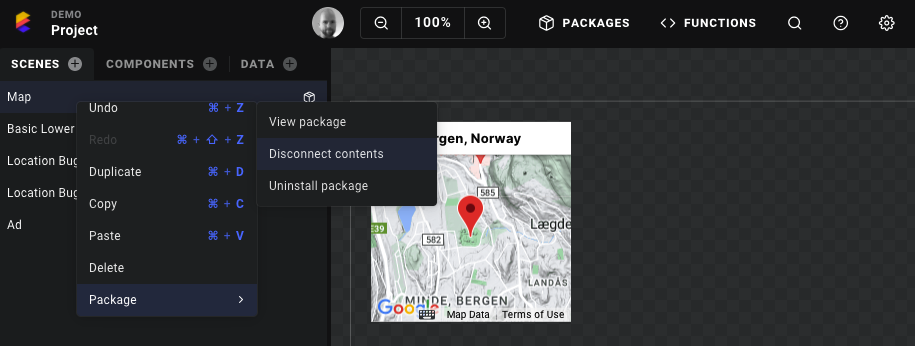
You can identify which pieces are a part of a package by looking for the package icon. In the example below, you'll see the package icon to the right in the Scene list. 4 out of 5 scenes come from a package.
Editing
Package contents are read-only, as you would lose your changes the next time you upgrade the package. If you just want to make changes and don't care about upgrading it later, you can open the package and disconnect it.
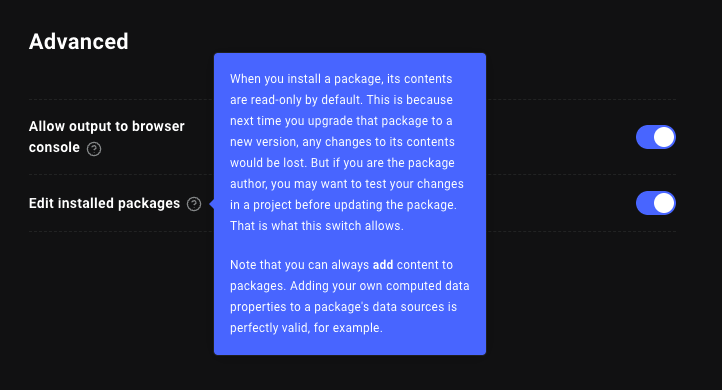
Or if you are sure you know what you are doing, you can make package contents editable in the project settings under the Advanced tab.
Advanced usage
Scripting
It is worth noting that if you're referencing package contents from a script, you can access the package via the context.use(<namespace>) function.
Example on how to access a data source from your project scripts:
js
context.use('my.package').sources.LowerThird;You will find the package namespace by navigating to the data source in Studio.
Updating
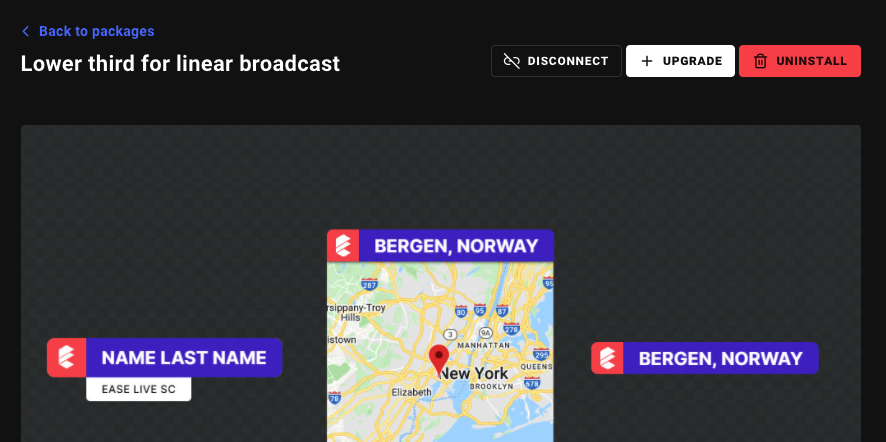
Go to the front page of the package store and click into the packages you've installed. On each package detail page you'll notice an Upgrade button if the package has a newer version available. Click it to install the newest version available.
If an update includes a change to a package's dependency, then that dependency will also be installed as a part of the package.
Disconnecting
If you want to take control of the package yourself and make changes to the package's content, it is advised that you disconnect the package. You can disconnect it by navigating to the package in the package store and click Disconnect. There is also the possibility of right clicking on a package element like a Scene to only disconnect that particular element.
Once you've disconnected a package, you can install the package again at a later stage. However, the package will install new elements in your project, and leave your already disconnected elements will remain unchanged by the installation.
Uninstalling
To uninstall a package, find the package in the Package Store and click Uninstall. This will remove all elements installed by the package to begin with. If you want to keep some elements of the package, have a look at Disconnecting.
Publishing
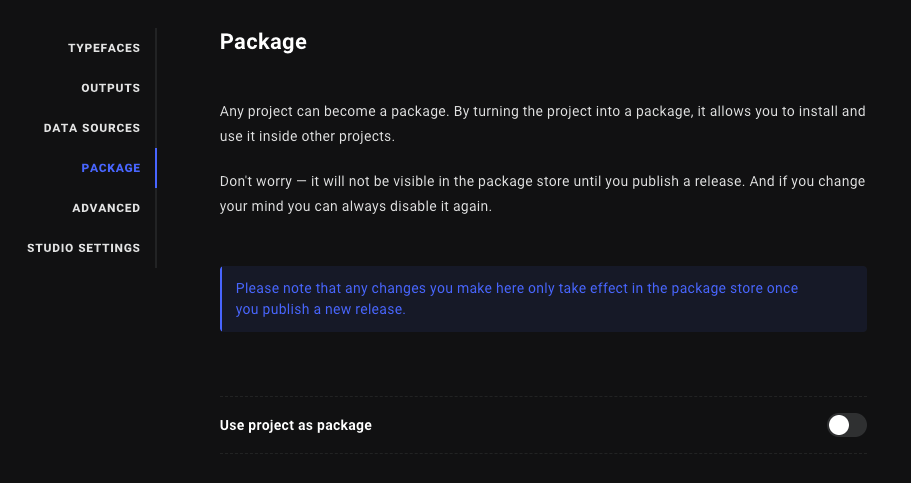
To create a package, you can start by creating a new project. If you already have a Studio project you want to convert to a package, that will also work. Every project can become a package. Go to Settings and then the Package tab.
All inclusive!
When you publish a package, everything in the project will be a part of the package. So make sure you've cleaned up any test scenes etc. that you don't want to publishs.
Head on over to version control to publish your package. You'll need to fill out a few mandatory fields about your package, such as title, description, images and a package category.
Mandatory package fields
- Title: The title can be anything, and doesn't need to be the same as the Studio project title
- Description: Describe the contents of your package
- Cover image This is the main image that's displayed in the package view.
- Thumbnail: This is the picture that's displayed the front page of the package store
- Category: All packages need to be placed in a category to be found when browsing the store.
Optional package fields:
- Preview program: If you select a program within your project, you will allow the package browser to test out your package without installing it first. The preview will open up in Ease Live Play.
See the Preview in Ease Live Play button.
All set!
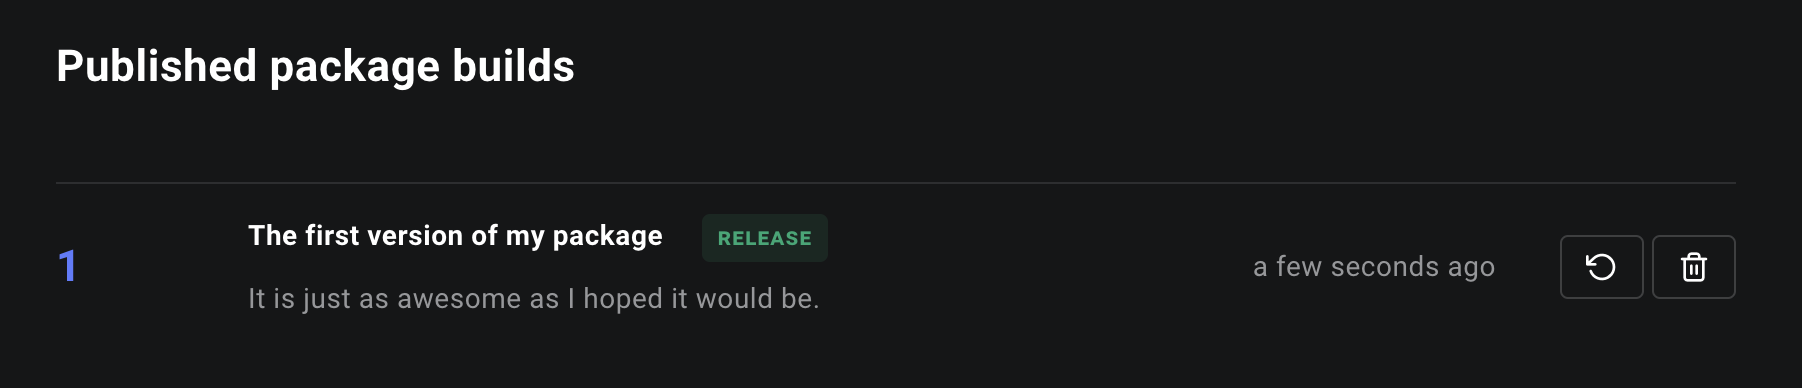
Once you've filled out all of the package fields, you can go to Version Control and click on the Create a new build button. From there you can release a build just as you would a regular project.

Click Publish now to release your version. It will show up in the Published package builds right away, where you can delete it if you regret the release.
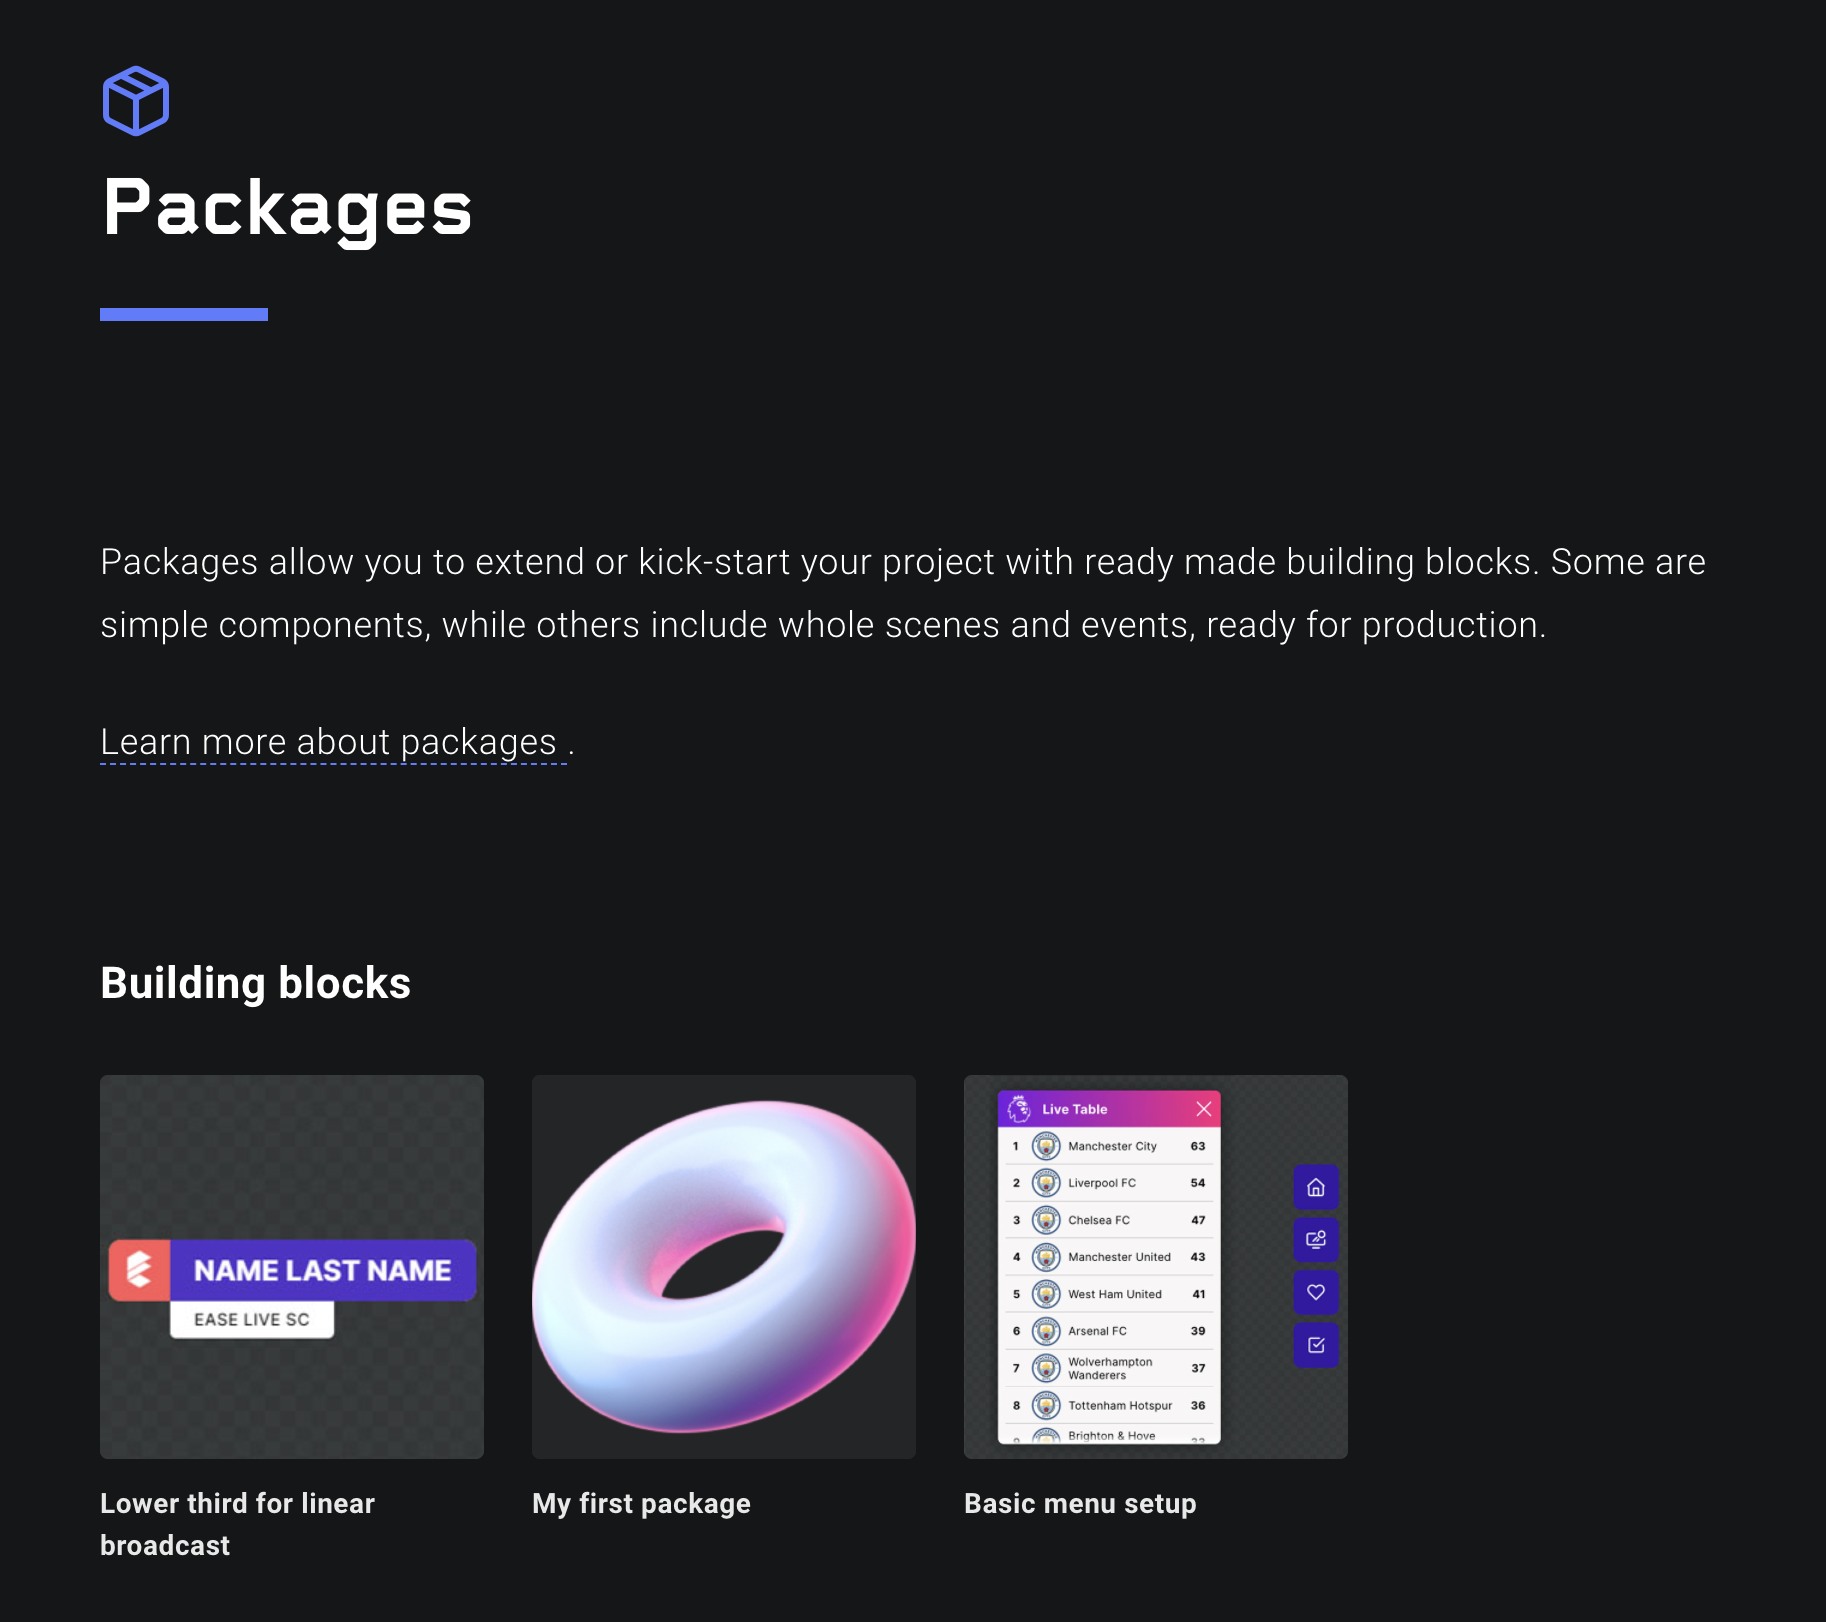
Find your package
After you've published your build, the package will be updated immediately in the store. Click on Packages in the top bar to see for yourself. The package is published under Building blocks.
Unpublishing
To remove a package from the store, you don't have to delete it. You just need to go to Package settings and mark your package as a draft and then publish a new version of it.
Important
All projects that already had the package installed before you removed it, will still be able to keep it in their projects as a disconnected package.