Appearance
1. Your first scene
The easiest way to get started with Ease Live is to make a simple widget – called scenes in our universe. To introduce you to the basic concepts, we will start with something simple. Then, as you feel more comfortable, you can come back for some progressively more advanced follow-up tutorials.
So, let's dig in and whip up a simple lower third (broadcast speak for "some graphics at the bottom of the screen"). By the end of this chapter we will have a simple, production ready widget, hooked up to the production panel with live data input:
Step 1: Create a project
If you don't already have a blank project to work with, log in at app.easelive.tv and click "New project" in the sidebar. Name it and hit the create button.
Now just click "Studio" in the sidebar and we are ready to start making stuff! 🎉
Step 2: Making a scene
As mentioned at the top, scenes are the basic building blocks of Ease Live. Each main piece of your application will typically be in its own scene – a lower third, a score bug, a twitter feed, etc. You get the idea.
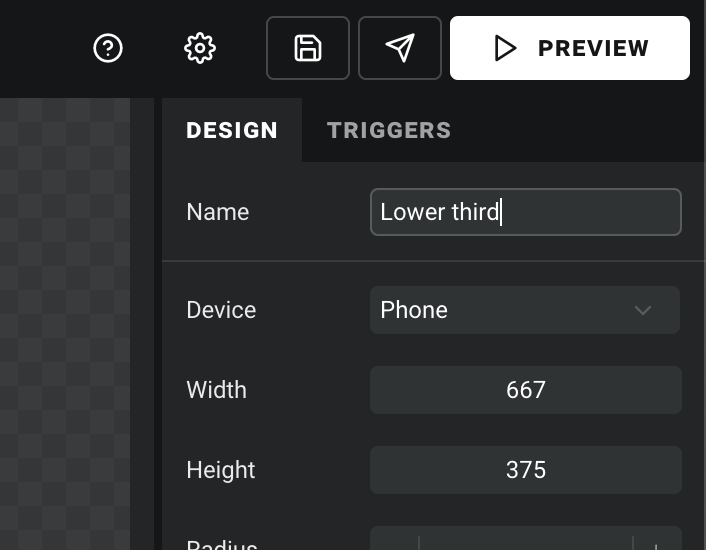
Every new project starts with an empty scene. Let's rename ours to "Lower third" in the DESIGN tab. We will leave the device dimensions for now – these are just a guide, and will adapt to the user's actual device:
Now let's make a box to contain some text. The square icon in the LAYERS panel adds a plain layer to our scene. We will make ours a suitable size, and move it to the bottom left area of our frame:
At the moment our layer is still positioned in relation to the top left corner of the screen. To make sure it stays at the bottom on all devices, we simply pin the bottom edge of our layer (and unpin the top edge) in the DESIGN tab:
Nice! With that out of the way, feel free to style it as you wish. For our example we will simply give it a white background:
Step 3: Adding some text
With our layer selected, let us add a text layer. This will automatically place it inside our first layer:
We can also pin its edges to its parent layer, so we don't have to realign it if we want to tweak the size of the box later.
Time to spruce things up with a nice typeface. We have the entire Google Fonts collection at our disposal – just click the cogwheel in the menu at the top, and add one you like.
Now we can go back and find it in the Typeface dropdown, and generally tweak our text size and style to our liking:
Much better! If we wish, we can already hit the PREVIEW button in the top right corner and confirm that it sticks to the corner as expected as we toggle between sizes.
😍
Step 3: Hooking it up
We will add more bells and whistles in the following guides, but for now we will jump straight to the fun part – hooking it up to the production panel.
Events are another fundamental concept in Ease Live. They are what controls our graphics, by telling them – among other things – when to appear, and when to hide. They can also contain data, like the text for our lower third. Let's configure an event to trigger our scene.
Go to the DATA tab and click the + button. This creates a data source, and you will notice its type is set to "Event" by default. We will come back to other data types in another guide. For now, just name it "LowerThird".
The PROPERTIES panel on the bottom left is where we specify which data this event should contain. For events, it is a bit like a form builder for the production panel. We want a text field for entering the text for our lower third, so we will add a text property:
Almost there – now we just have to tell our scene to show & hide based on this event, and map the text input to our text layer.
First, with our scene selected, click the TRIGGERS tab in the top right corner, and select the event we just created in the "Show & hide" section.
Lastly, select the text layer, and click the data icon next to the "Text" field in the DESIGN tab – and select the "Text" property of our new event:
That's it – you have created your first, fully functional Ease Live graphic. Piece of cake 🍰
Done! Let's take it for a spin
To see it in action, click the PRODUCE button and open the sample program that was created for your project. The Ease Live production panel will open in a new window. And when you select the "Lower third" event in the left column, it will open in the panel just below the rundown. Write something in the input field, hit AIR NOW, and marvel at your creation:
Of course, this is a very simple example. The goal of this guide was just to give you a quick introduction to scenes and events, the fundamental building blocks of your Ease Live user experience. Now we're ready for the fun stuff!