Appearance
Data sources: Basics
With the Data tool, you can add different images, texts and other content to your designs, to create more realistic prototypes, or to go directly into production.
Think of Data sources as the glue you would usually ask a developer to apply by writing code logic in your designs. With these, you can do all of that yourself, code-free.
There are a number of Data sources included in Ease Live:
- Event: Control your graphics from a broadcast production panel
- Storage: Store and change data directly in the design project
- API: Send and receive data from a REST API
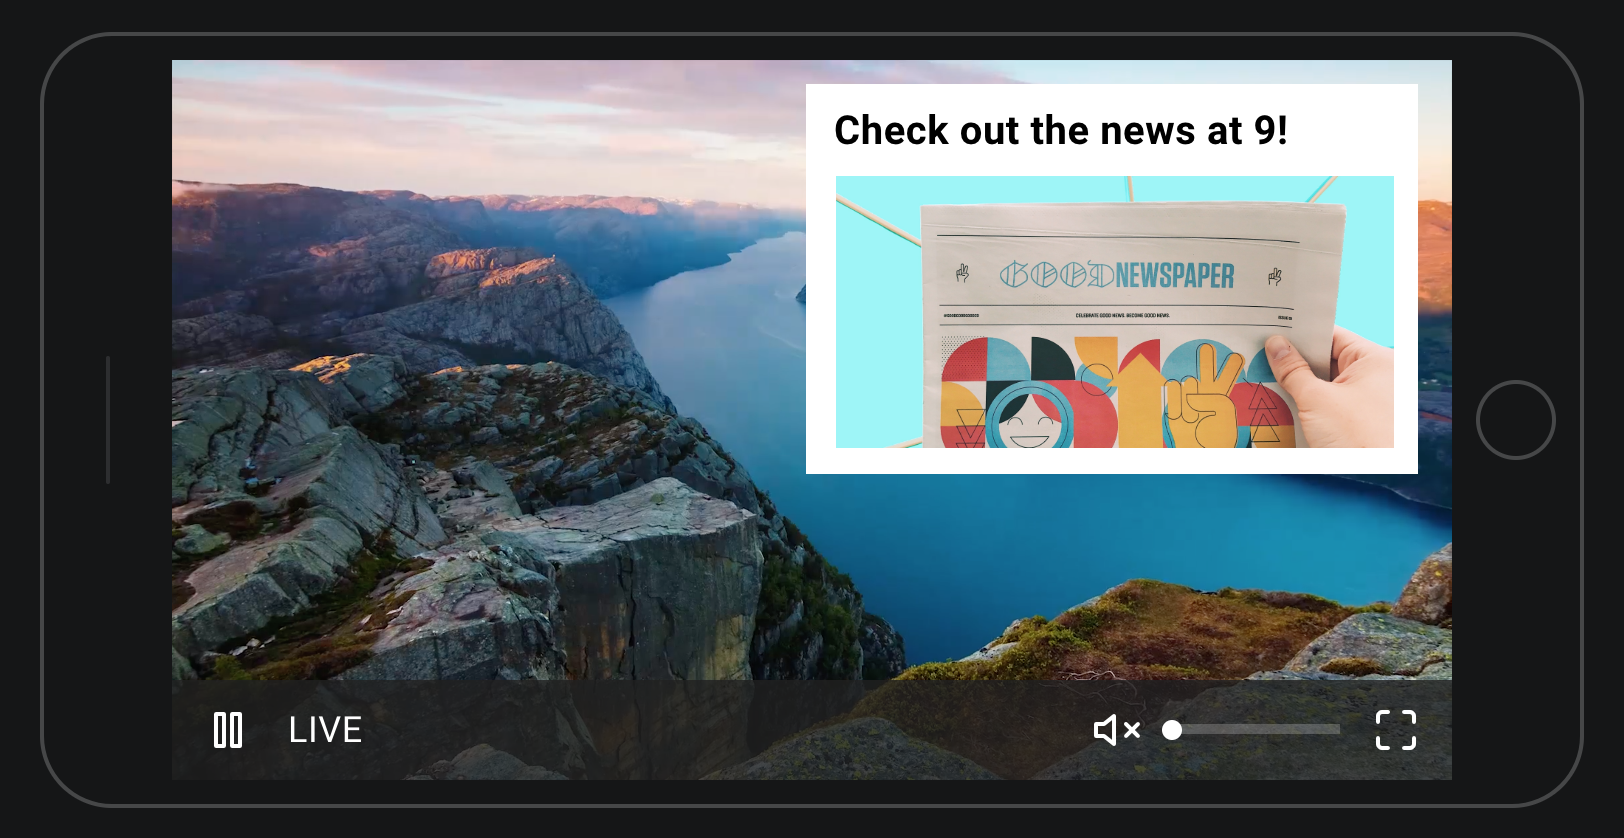
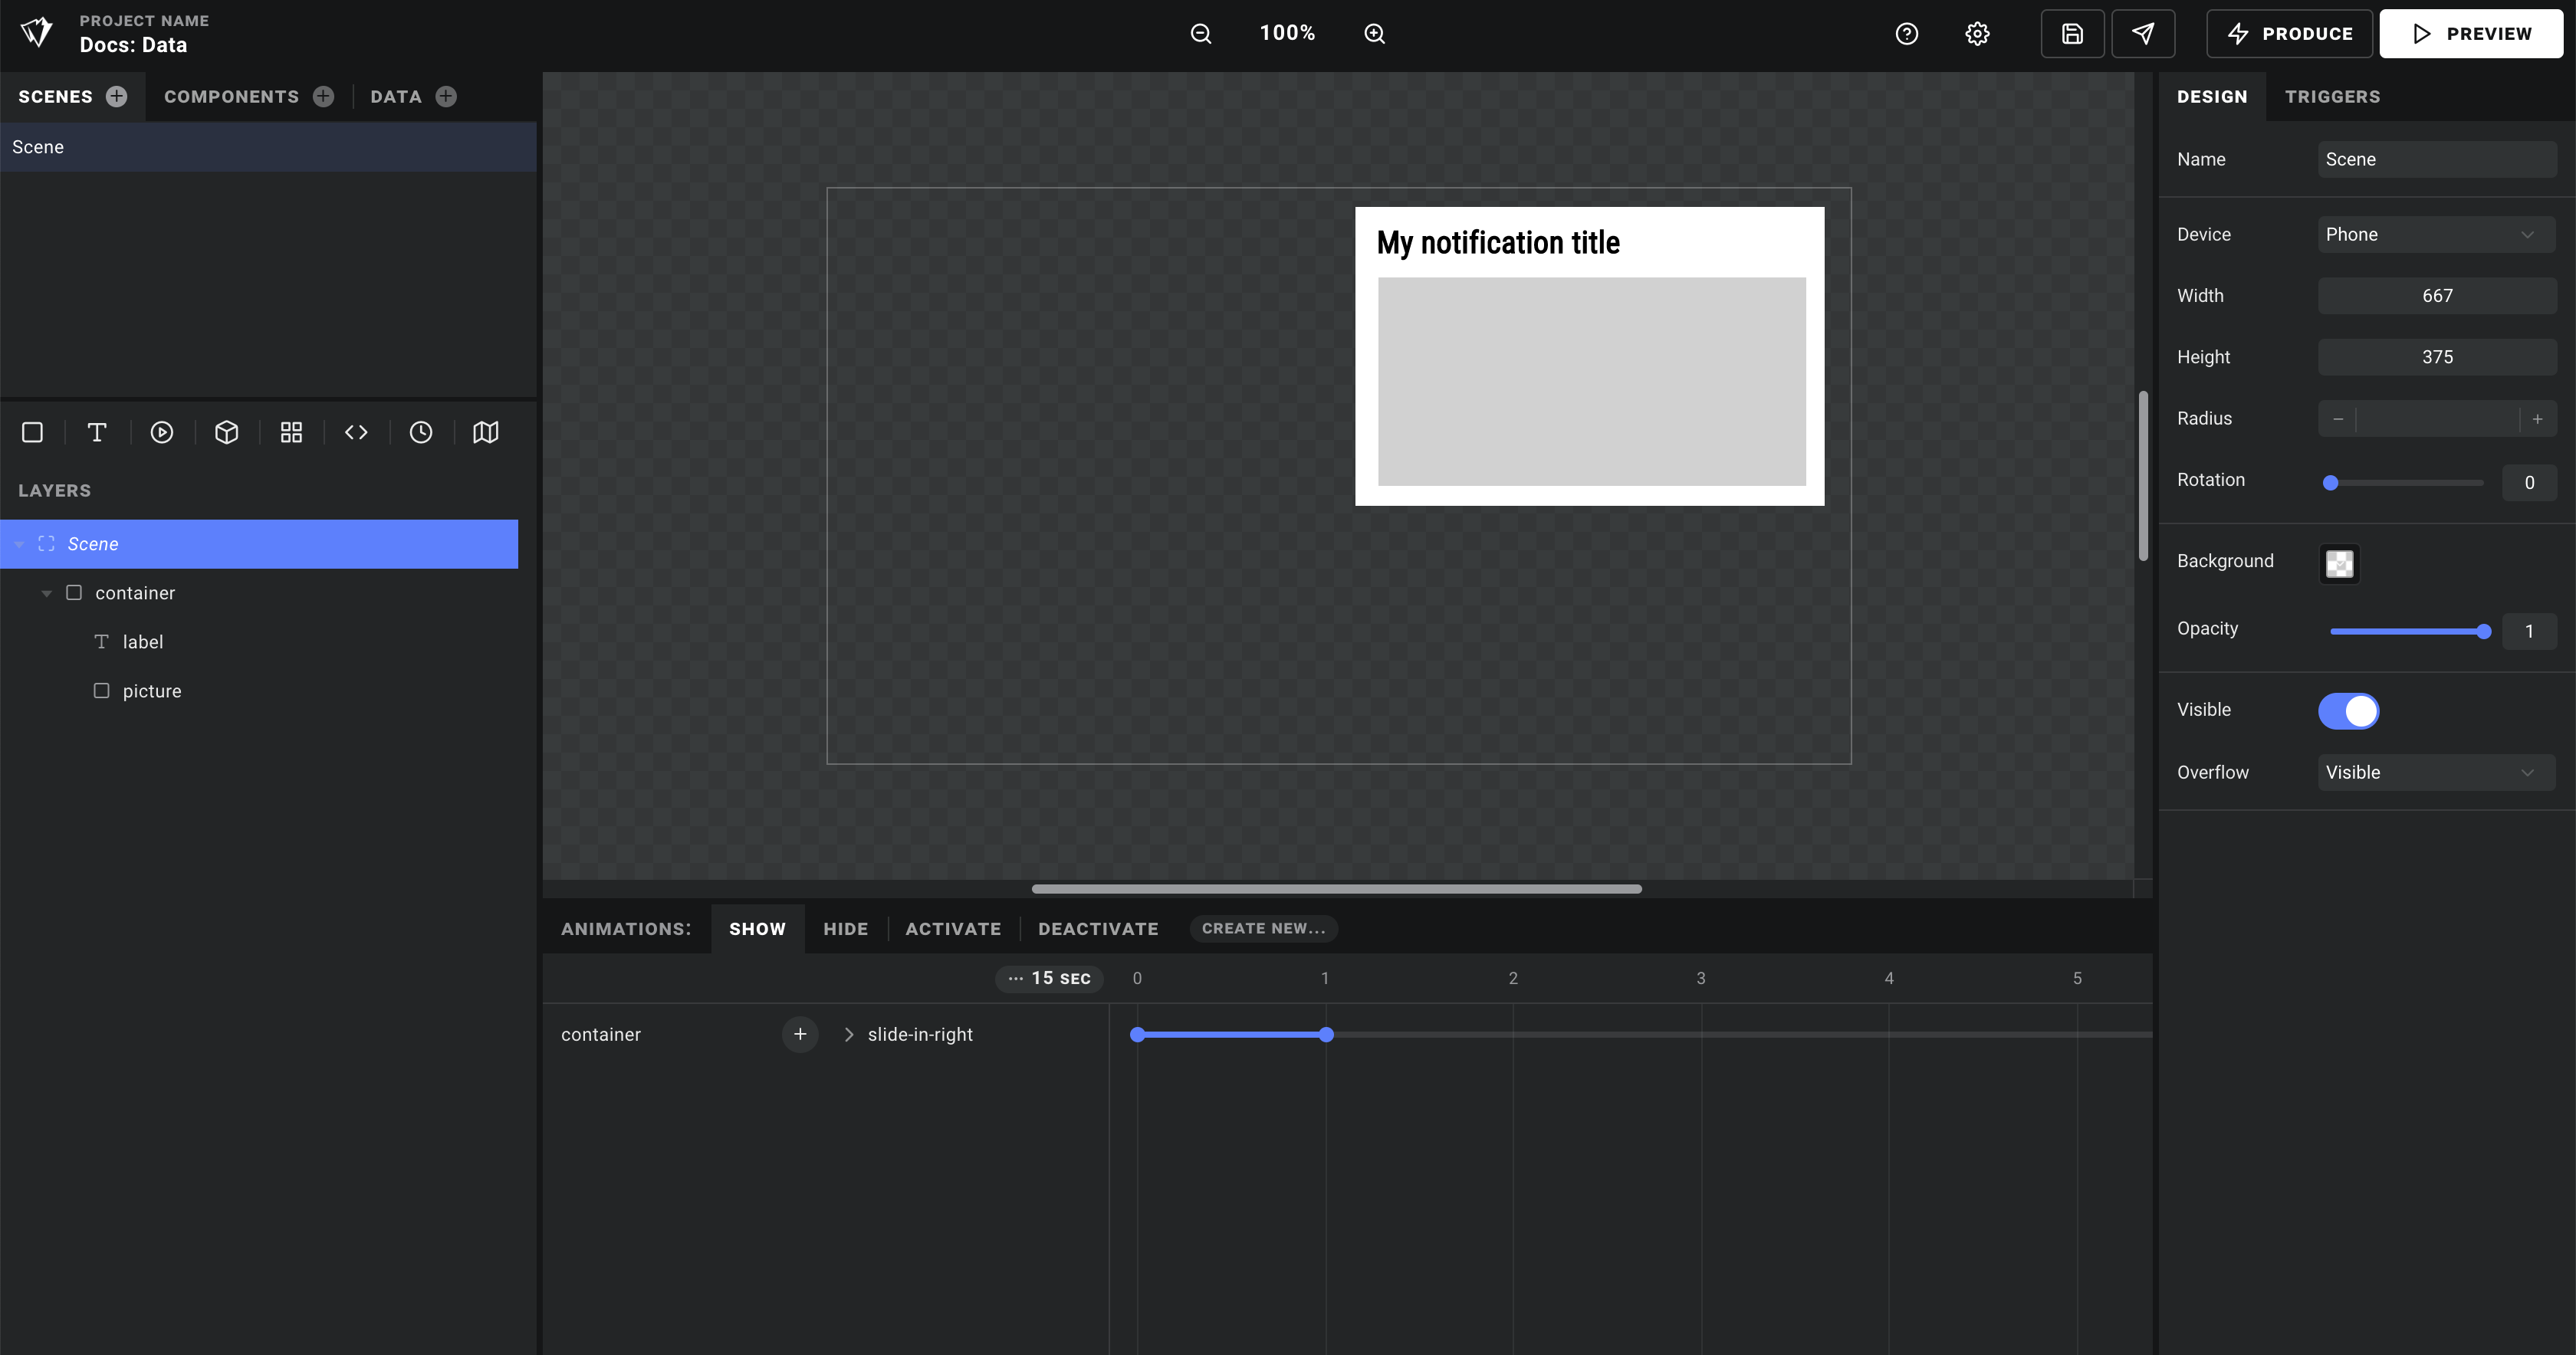
In this article, we will make the following design come to life with real data, like this:
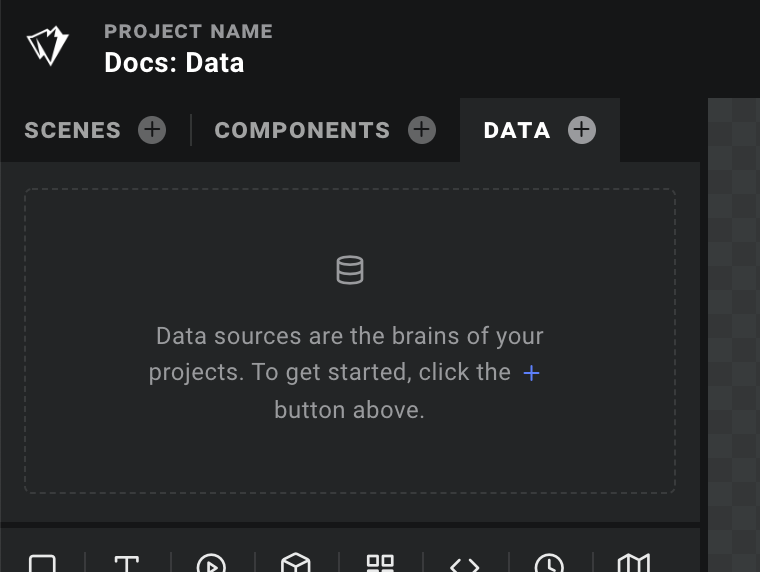
Adding new data sources
To add a new Data source, navigate to the DATA tab and click the + button.
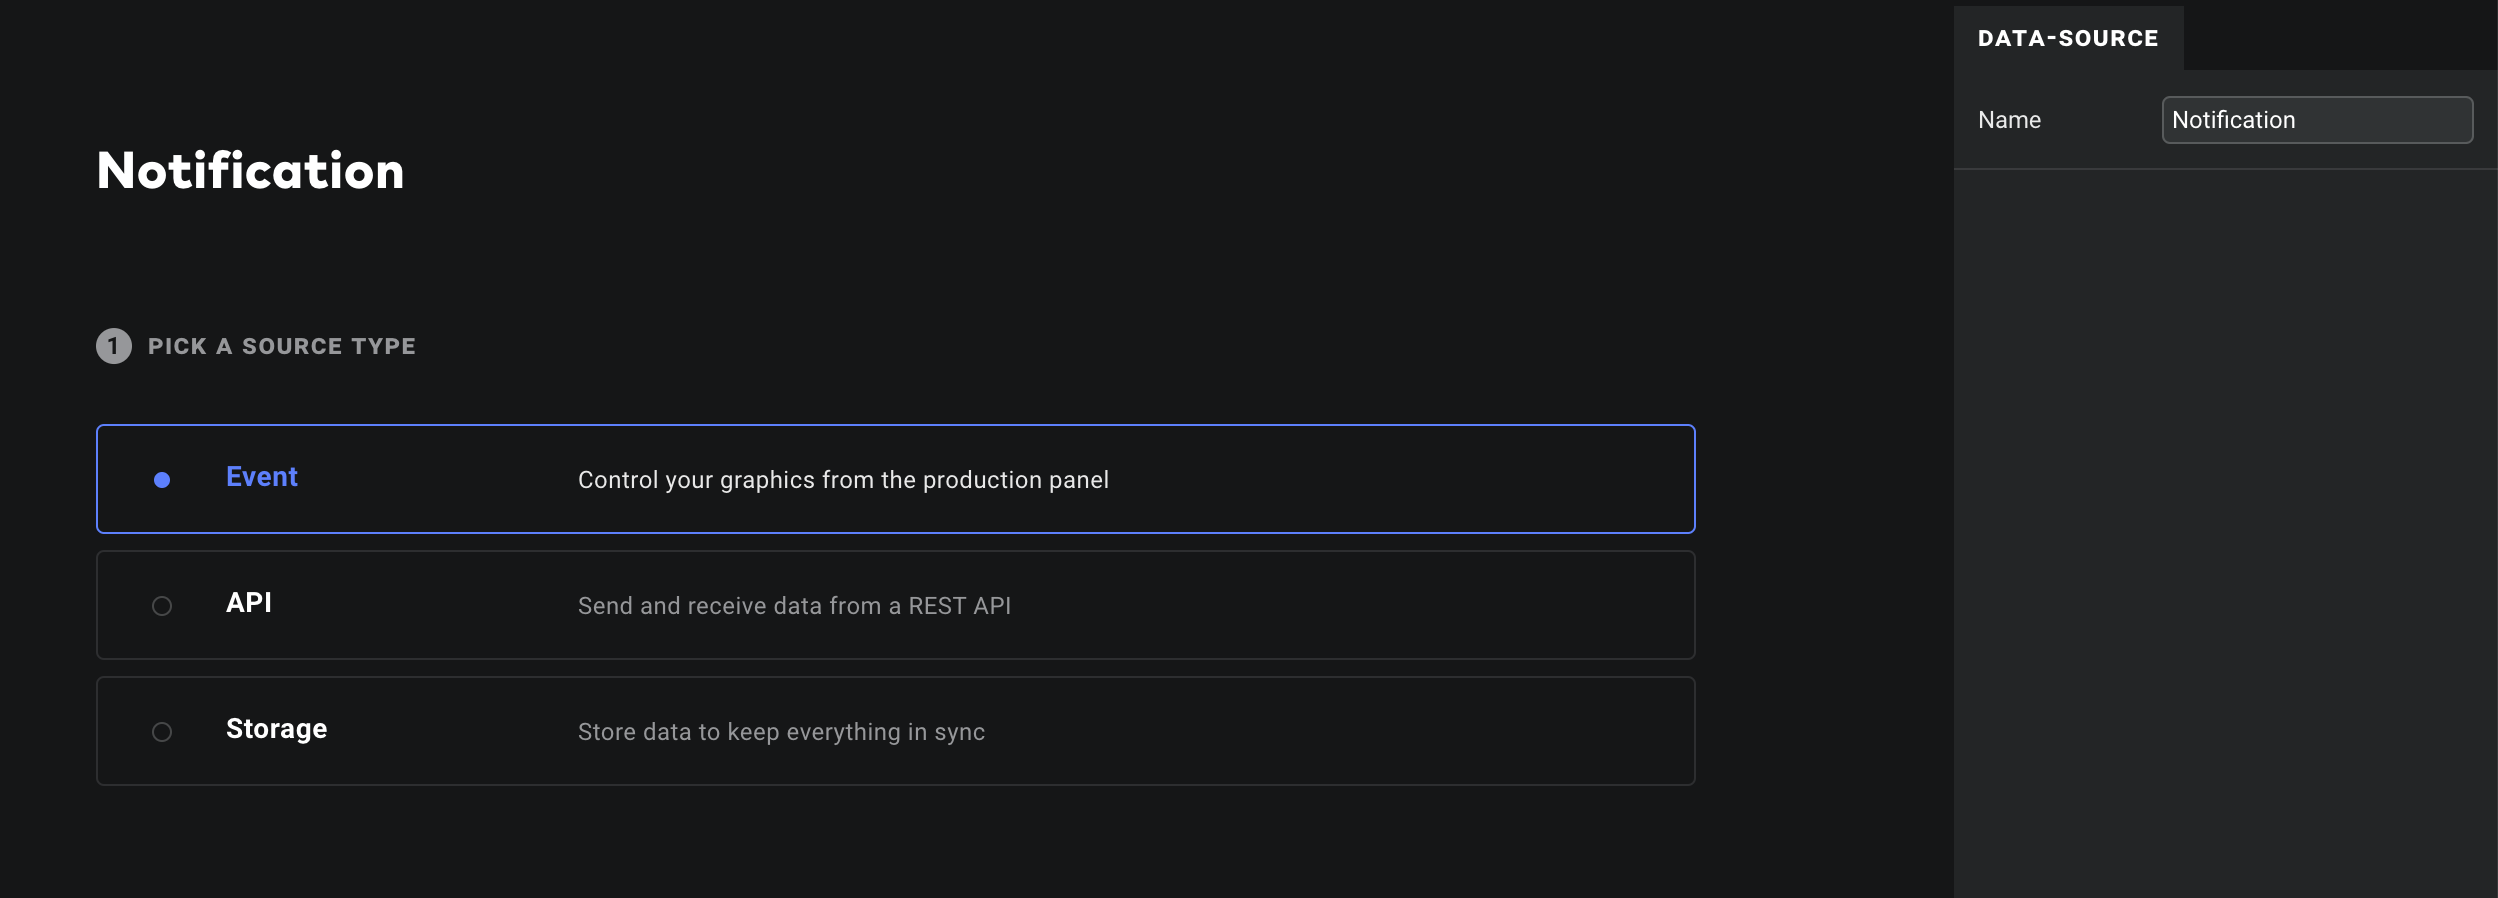
Give it a name in the Inspector - let's call it our data source Notification. We'll keep the source type set to Event, as this is the main source type in an Ease Live.
Note: When setting up Event data sources, it is a good idea to give it a good human readable name. The data source name will be used in the production panel later on.
Building a data structure
Let's add a title and a picture. The Components Panel above the Layer list provides you with data types to structure your data. Available properties are:
- Text: Any text value
- List: A list of data, you can decide if you want a single property in there (like a text), or a group of multiple properties. You can set a minimum and maximum value of list items in the inspector.
- Group: You can put one or many properties within this group. If you're a designer, think of it like a folder. If you're a developer, think of it like an object.
- True/False: Checkbox
- Number: Any number. You can set a minimum and maximum value in the inspector
- Image: Add the possibility to upload any image to this data source
- Computed: This is for the nerdy crowd. You can create a data property generated from code. Put JavaScript code in here and return the value you want to use in the design.
- Linked data source: if you want to reference another data source (often used with computed properties), you can create a property and create a link into another source.
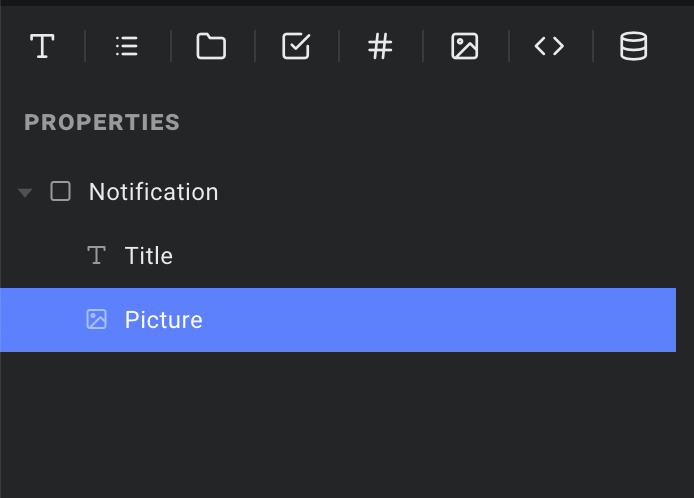
Back to Notification. Add a Text and an Image property and rename them to Title and Picture.
Now we're ready to use our data source in our design.
Working with data
We've created a simple scene with a title and a picture. We won't cover that in this article - go to 1. Your first scene to learn how to create a basic design.
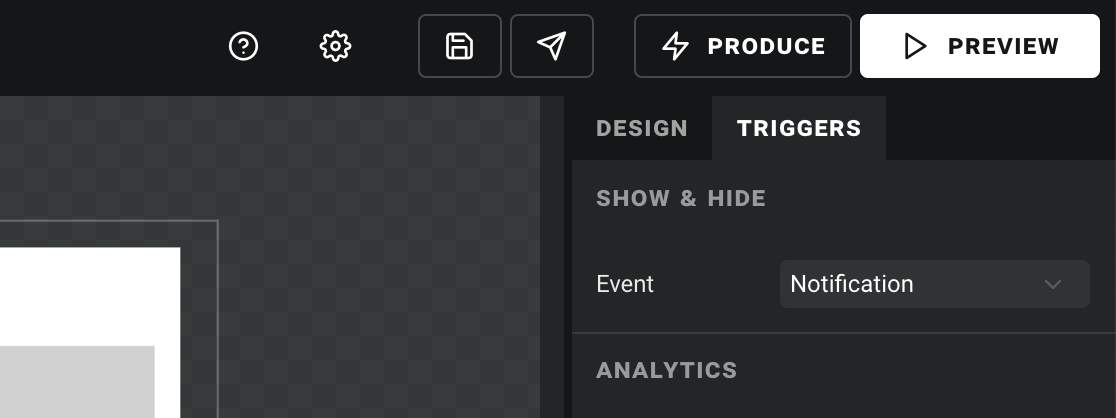
Allow the producer to control the scene
Select the Scene root layer in the Layer list and go to TRIGGERS. Select your newly created Notification data source. This will allow a producer to take on and off a scene from the stage in broadcast. Basically, the scene won't be visible unless the Notification data source has any data.
Override layers with data
You can override any layer property with data sources. This is a really powerful feature. It means that any area of your design can be totally dynamic based on data being sent to it. Traditionally in a project, this is where a developer would come in and take over the reigns.
You override a layer property by hovering over the label in the Inspector. Select the text layer and hover over the Text property. This will reveal a database icon. Click on it and select the value you want to assign the layer property (Notification → Title), like in the video below.
You'll notice the text property now has a blue database icon. This will always appear as long as the property has an override attached to it.
Now do the same with the picture layer. Select the layer and bind the Notificaiton → Picture data property to the Upload layer property on the picture layer.
That's it!
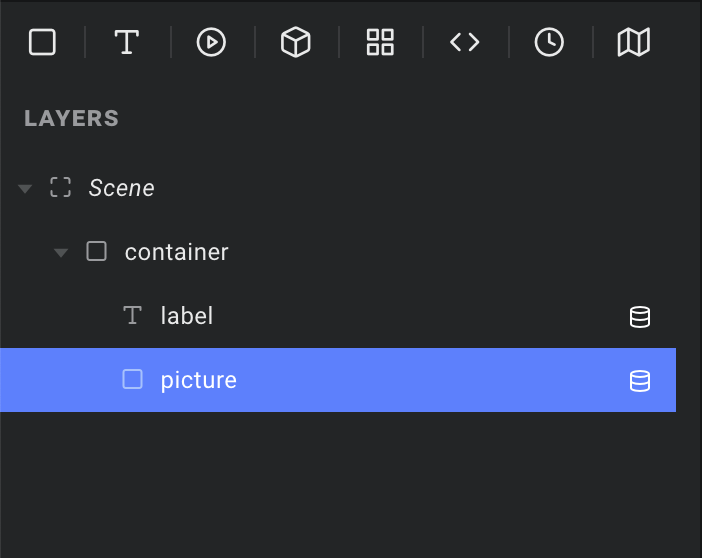
Useful detail: Where's overrides being used?
The Layer tree will conveniently inform you of the layers in your Scene that has data overrides attached to them:
Bring your Scenes on-air with real data
Now it's time to take it for a spin.
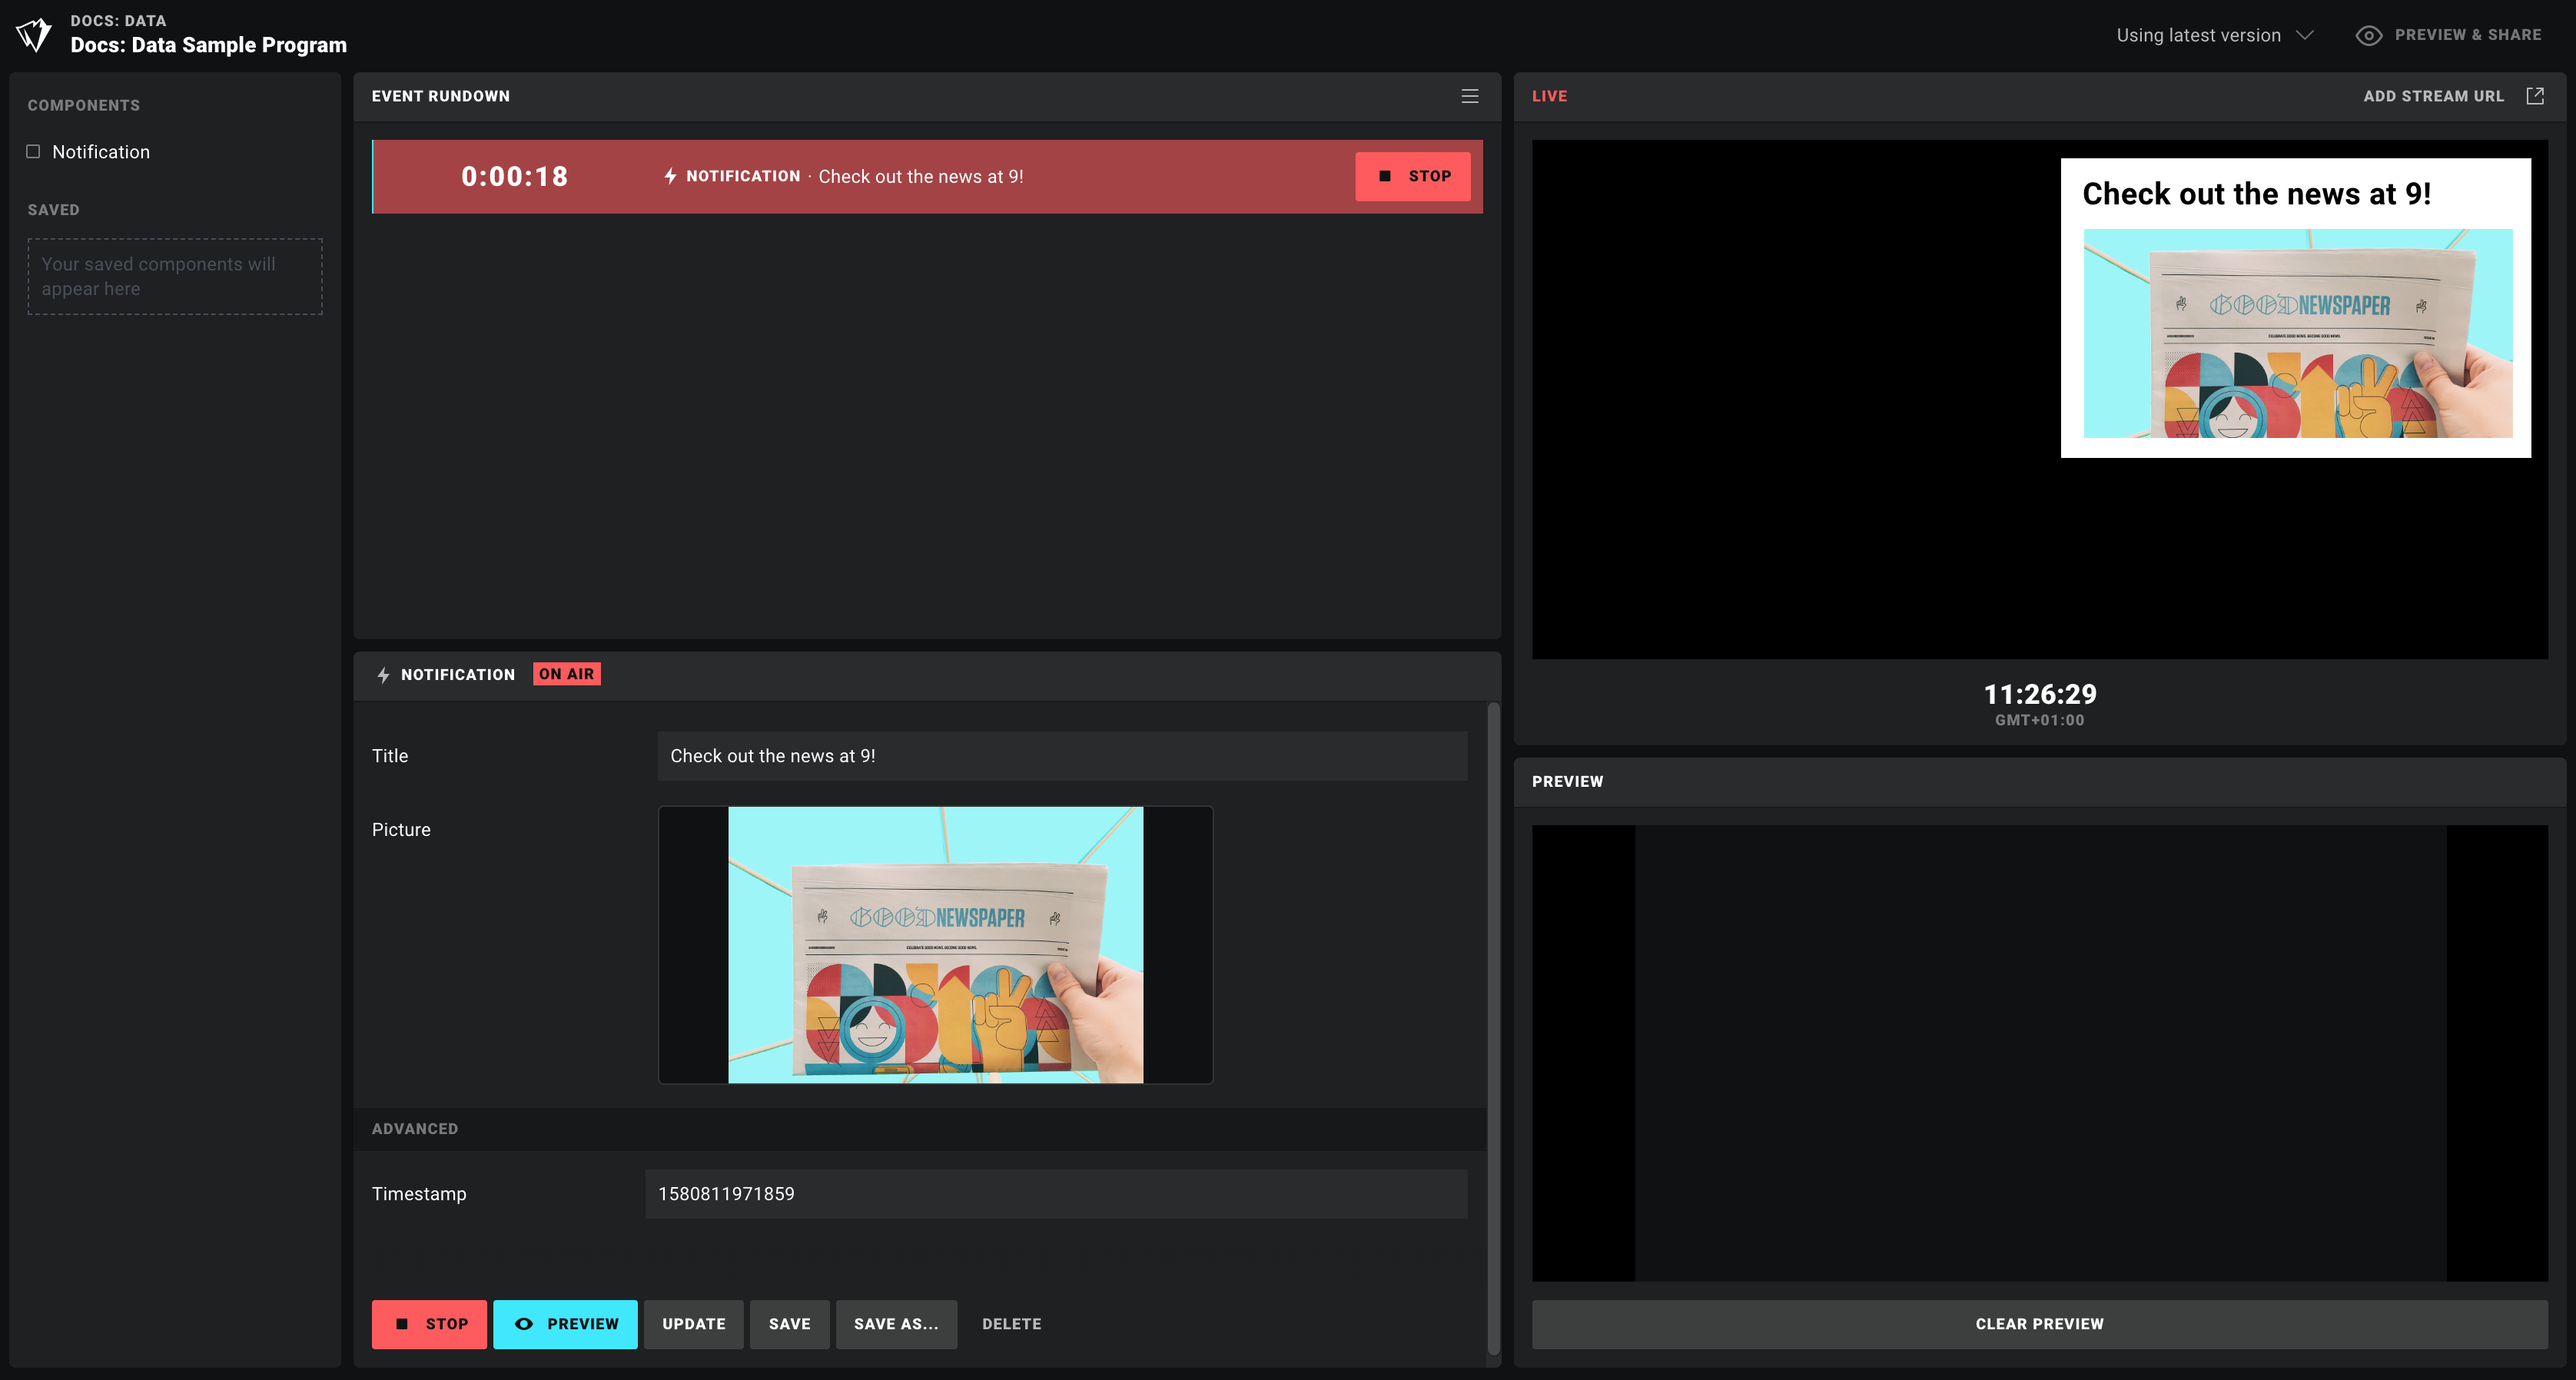
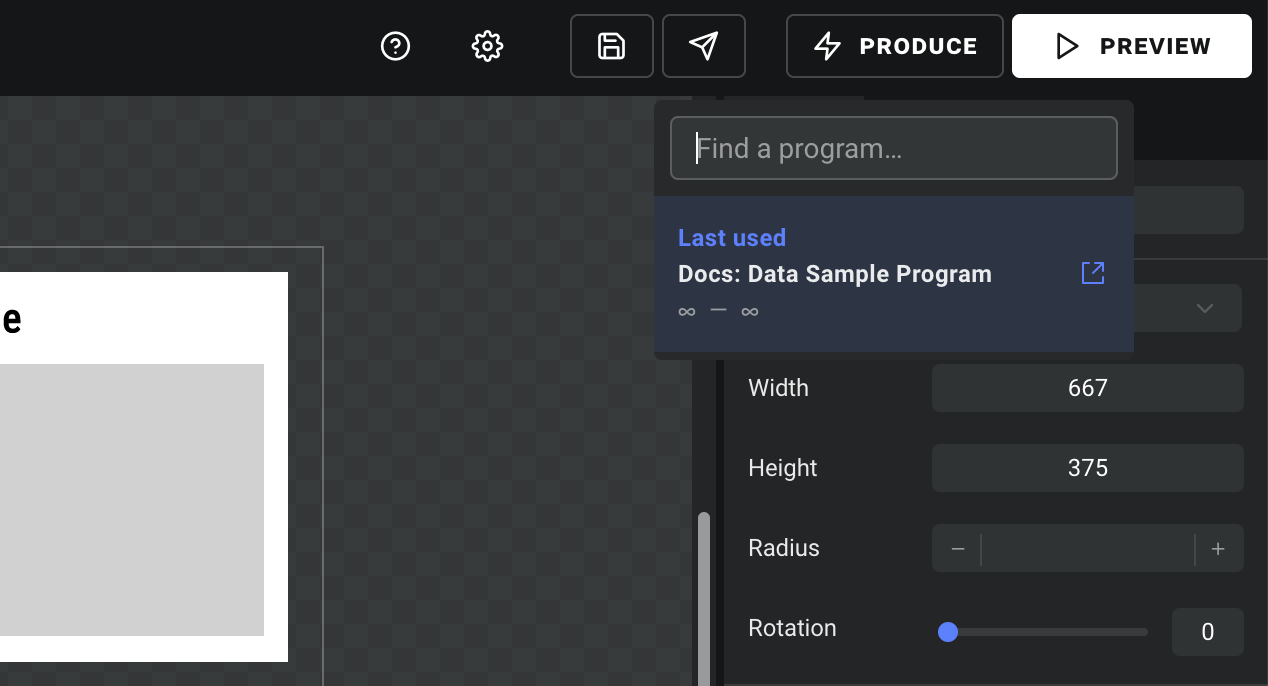
To see it in action, click the PRODUCE button and open the sample program that was created for your project.
The Ease Live production panel will open in a new window. When you select the "Notification" event in the left column, it will open in the panel just below the rundown. Write something in the input field, upload any picture, and hit AIR NOW.
You should now see your Scene showing up in the LIVE window with real data hookups. 🎉